پیژندنه
The RunCam Hybrid 2 is an advanced dual-lens camera system designed for FPV (First Person View) applications and high-definition (HD) video recording. It integrates a 4K HD recording lens with a dedicated analog Phoenix 2 sensor lens, providing both high-quality recorded footage and a clear, low-latency FPV feed. This manual provides essential information for the proper installation, operation, and maintenance of your RunCam Hybrid 2 camera.
محصول پای ته ورسیدview
The RunCam Hybrid 2 features a compact, single-board design, making it suitable for micro FPV setups. Its dual-lens configuration ensures that the FPV view closely matches the recorded HD footage, enhancing the piloting experience.
کلیدي ځانګړتیاوې:
- دوه ګونی لینز سیسټم: Combines a 4K HD recording lens (SONY 8MP sensor) with an analog FPV lens (Phoenix 2, SONY 1.3MP sensor).
- Single Board Design: Achieves a compact form factor with both lenses mounted closely on a single PCB.
- اسانه نصب کول: 19mm camera module width allows direct mounting in micro FPV frames without adapters.
- QR Code Parameter Settings: Configure camera settings conveniently via a smartphone app by scanning a generated QR code.
- د UART کنټرول: Connects to a flight controller's UART port for remote control of recording functions via your radio transmitter.

Image: Analog Output Upgraded to Phoenix 2. The camera provides an improved FPV image feed.

Image: Single board design for simple installation.
د بسته محتويات
ډاډ ترلاسه کړئ چې لاندې ټول توکي ستاسو په بسته کې شامل دي:
- 1x RunCam Hybrid 2 Camera
- 1x Plastic cover
- 1x 3PIN FPV silicone cable (male)
- 1x 3PIN FPV silicone cable (female)
- 1x Set of M2 screws
- 1x لارښود

Image: Package contents of the RunCam Hybrid 2.
مشخصات
| پیرامیټر | ارزښت |
|---|---|
| HD Sensor | سوني 8MP |
| انلاګ سینسر | SONY 1.3MP (Phoenix 2) |
| د ډګر View (FOV) | HD Recording FOV 145° (FPV FOV 150° @ 4:3) |
| د ویډیو حل | 4K@30fps / 2.7K@60fps / 2.7K@50fps / 1080P@120fps / 1080P@100fps / 1080P@60fps / 1080P@50fps |
| ویډیو File بڼه | MP4 |
| د تلویزیون حالت | NTSC (720 x 480) / PAL (720 x 576) (Switchable) |
| انٹرفیس | HD supports UART remote control; FPV (analog) supports UART firmware upgrade. |
| د اعظمي مایکرو SD کارت ملاتړ شوی | Up to 128GB (U3 recommended for 2.7K60/1080P120; U1 for others). Must be FAT32 format. |
| د نصبولو سوراخ | 20 x 20 mm |
| د PCB اندازه | 29 x 29 mm |
| د لینز ماډل اندازه | 19 x 25 mm |
| د لینس مشخصات | M10 HD Lens and M8 FPV Lens |
| د ننوتلو ځواک | DC 5-20V (Do not directly power with 4S battery or higher to avoid overvoltagاو). |
| د کار روان | 480mA @ 5V / 140mA @ 12V |
| وزن | 18 ګرامه |

Image: RunCam Hybrid 2 Dimensions.
چمتو کول
Follow these steps to properly set up your RunCam Hybrid 2 camera:
- فزیکي نصب: Mount the 19mm camera module into your drone or vehicle frame. The compact design allows for direct integration into micro FPV setups.
- د تارونو نښلول: Refer to the wiring diagram below for correct connections.
- VCC+ (5-20V): Connect to a stable DC power source within the specified voltage لړ. Warning: Do not directly power with a 4S battery or higher, as this can cause overvoltage and damage the camera.
- GND: د ځمکې سره وصل کړئ.
- ویډیو: Connect to your FPV video transmitter (VTX) for analog video output.
- TX/RX: Connect to a UART port on your flight controller for remote control functionality and firmware updates.
- Micro SD Card Insertion: Insert a formatted Micro SD card (FAT32 format, U3 speed class recommended for 2.7K60/1080P120, U1 for other resolutions) into the designated slot. Ensure the card is inserted correctly to avoid data corruption.

Image: RunCam Hybrid 2 PCB Layout and Wiring Diagram.
عملیات
Once the camera is installed and powered, you can begin operation:
- پاور آن: Apply power to the camera. The FPV feed should appear on your goggles or monitor.
- د ثبت کنټرول:
- لاسي کنټرول: Use the Power/Shutter Button on Side A of the PCB to start and stop HD recording.
- UART Remote Control: If connected to a flight controller's UART, configure your Betaflight (or similar) settings to assign a switch on your radio to control recording start/stop.
- د حالت بدلول: Use the Mode Switch Button on Side A to cycle through different camera modes or settings if available.
- QR Code Parameter Settings: For advanced configuration, download the RunCam app on your smartphone. Adjust desired settings within the app, generate a QR code, and then scan this QR code with the RunCam Hybrid 2 camera. The camera will automatically apply the new settings.
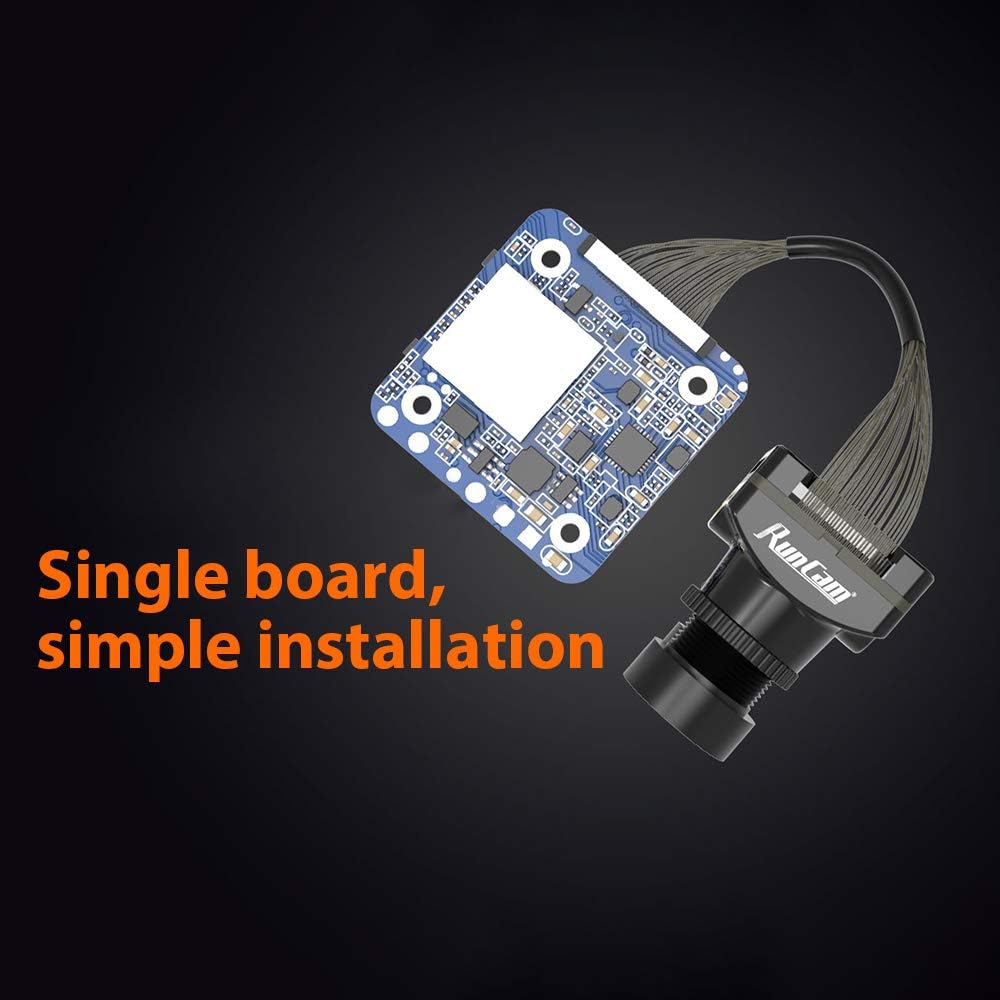
Image: QR Code Parameter Settings via RunCam App.
ساتنه
To ensure optimal performance and longevity of your RunCam Hybrid 2 camera, follow these maintenance guidelines:
- د عینکو پاکول: Regularly clean both the HD and FPV lenses with a soft, lint-free cloth and lens cleaning solution. Avoid abrasive materials that could scratch the lenses.
- د بریښنا رسول: Always ensure the camera receives power within the specified DC 5-20V range. Incorrect voltage can cause irreversible damage.
- د SD کارت مدیریت: Periodically back up your recorded footage and format the Micro SD card to maintain optimal recording performance and prevent file corruption. Use a high-quality, recommended speed class SD card.
- فزیکي معاینه: Regularly check for any loose connections, damaged cables, or physical damage to the camera module.
د ستونزو حل کول
If you encounter issues with your RunCam Hybrid 2, refer to the following common problems and solutions:
- No Power/Camera Not Turning On:
- Check all power connections (VCC+, GND) for proper wiring and secure contact.
- تایید کړئ چې د ننوتلو حجمtage د DC 5-20V حد کې دی.
- Ensure no short circuits are present in the wiring.
- No FPV Video Output:
- Check the video signal cable connection from the camera to your VTX and from the VTX to your goggles/monitor.
- Confirm that the TV mode (NTSC/PAL) setting on the camera matches your display device. This can be adjusted via QR code settings.
- Ensure the VTX is powered and functioning correctly.
- Recording Errors / Corrupted Files:
- ډاډ ترلاسه کړئ چې مایکرو SD کارت FAT32 ته فارمیټ شوی.
- Use a high-speed Micro SD card (U3 or higher for 4K/high frame rate recording).
- Try formatting the SD card again or using a different, known-good SD card.
- Check the SD card slot for any debris or damage.
- QR Code Settings Not Applying:
- Ensure the QR code is clearly visible and well-lit when scanning.
- Hold the QR code steady in front of the camera lens until the settings are confirmed.
- Verify that you are using the official RunCam app for generating QR codes.
- UART Control Not Working:
- Check TX/RX wiring between the camera and the flight controller.
- Verify UART settings in your flight controller firmware (e.g., Betaflight) are correctly configured for camera control.
- Ensure the correct protocol is selected in the flight controller software.