1. پیژندنه
Thank you for choosing the Vancer Gretxa Wireless Ultralight Gaming Mouse. This manual provides essential information for setting up, operating, and maintaining your new gaming mouse. Please read it thoroughly to ensure optimal performance and longevity of your device.
د بسته محتويات
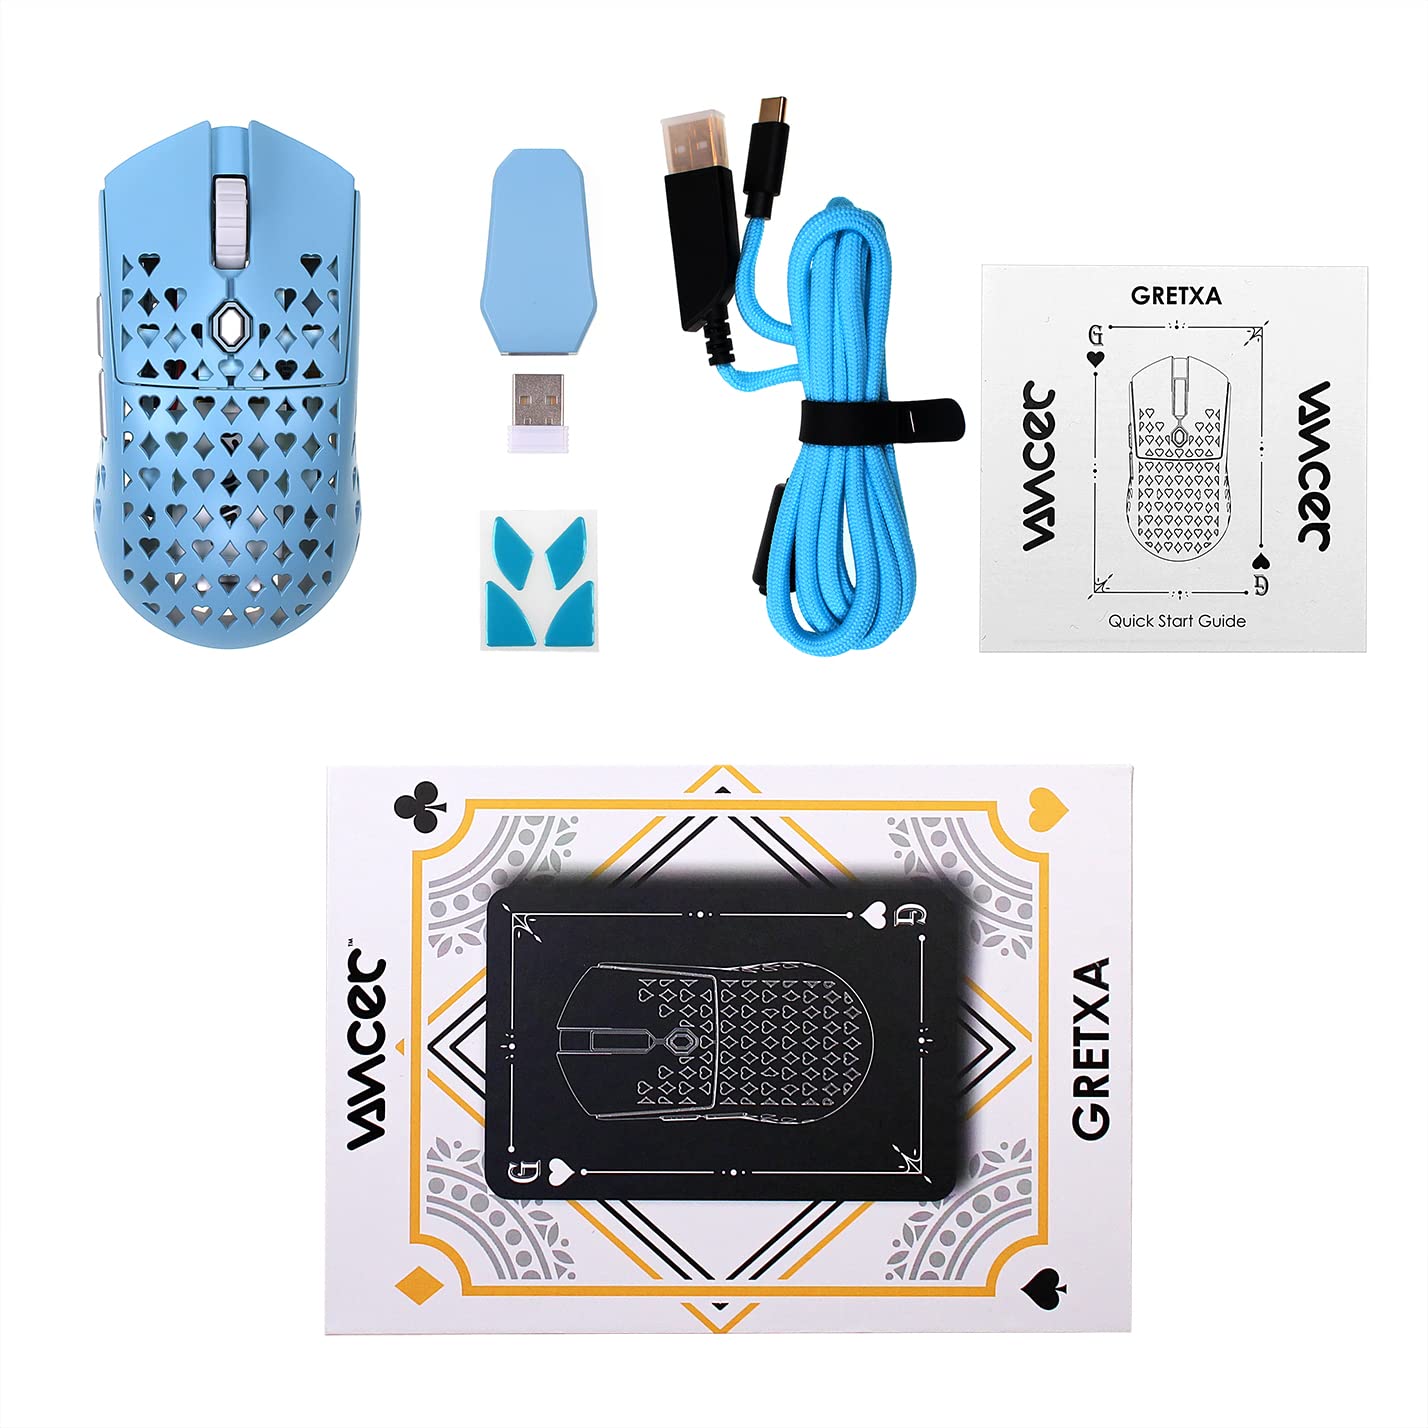
The Vancer Gretxa Wireless Ultralight Gaming Mouse package includes the following items:
- Vancer Gretxa Wireless Gaming Mouse
- USB-C to USB-A Charging Cable (Red)
- USB Extension Dongle
- د بې سیم رسیور Dongle
- Extra Set of PTFE Skates
- د چټک پیل لارښود
2. ترتیب کول
۲.۳ د بېسیم رسیور سره نښلول
- Locate the wireless receiver dongle.
- Plug the receiver dongle into an available USB-A port on your computer. For optimal signal strength, use the provided USB extension dongle to place the receiver closer to the mouse.
- Turn on the mouse using the power switch located on the underside of the mouse.
- Your computer should automatically detect the mouse. No additional drivers are typically required for basic functionality on Windows 10.
۳.۱ د موږک چارج کول
The Vancer Gretxa mouse is equipped with a rechargeable Lithium Ion battery.
- Connect the USB-C end of the charging cable to the front port of the mouse.
- Connect the USB-A end of the charging cable to an available USB-A port on your computer or a USB wall adapter.
- موږک د چارج کولو پرمهال په تار لرونکي حالت کې کارول کیدی شي.
- A full charge typically takes a few hours. The LED indicator on the mouse will change to indicate charging status (refer to the Quick Start Guide for specific LED behaviors).

2.3 Optional Software Installation
For advanced customization, such as remapping buttons, adjusting DPI steps, or configuring macros, Vancer may provide optional software. Please visit the official Vancer website for the latest software downloads and installation instructions. Note that some features like RGB lighting may be tied to DPI settings.
3. عملیاتي لارښوونې
۳.۱ د موږک اساسي دندې
- کیڼ کلیک: د لومړني عمل تڼۍ.
- ښي کلیک: Secondary action button, often for context menus.
- سکرول ویل: Scrolls content vertically. Can also be pressed for a middle-click function.
- د غاړې تڼۍ: معمولا د مخ په وړاندې / شاته نیویګیشن لپاره کارول کیږي web browsers or customizable functions in games/software.
- د DPI تڼۍ: د مخکې ټاکل شوي DPI حساسیت کچو له لارې تیریږي.

3.2 د DPI تعدیل
The Vancer Gretxa mouse features a dedicated DPI button, usually located behind the scroll wheel or on the underside, to cycle through different sensitivity settings. The default DPI steps are 400, 800, 1800, 3200, 4800, and 6400. Each step may correspond to a different LED color for visual indication. Press the DPI button to switch between these settings to find your preferred sensitivity.
۵.۳ د رای ورکولو د کچې سمون
The polling rate determines how often the mouse reports its position to the computer. The Gretxa mouse supports polling rates of 125Hz (8ms), 500Hz (2ms), and 1000Hz (1ms). Higher polling rates generally provide smoother tracking and lower latency. Adjustment of the polling rate is typically done via the optional Vancer software.
۴.۴ وایرډ موډ
When the USB-C charging cable is connected to the mouse and your computer, the mouse will automatically switch to wired mode. This allows for continuous use even if the battery is depleted, and can be preferred for competitive gaming to eliminate any potential wireless interference.
4. ساتنه
۴.۱ د موږک پاکول
منظم پاکول د فعالیت او حفظ الصحې ساتلو کې مرسته کوي.
- بهر: د نرم، لینټ پاک ټوکر څخه په روښانه توګه کار واخلئampد اوبو یا نرم پاکولو محلول سره مینځل. د سختو کیمیاوي موادو څخه ډډه وکړئ.
- سینسر: Gently clean the optical sensor on the underside of the mouse with a cotton swab or compressed air to remove dust and debris.
- سکرول ویل: Use compressed air to clear any dust or particles that may accumulate around the scroll wheel mechanism.
4.2 Replacing PTFE Skates
The Vancer Gretxa mouse comes with high-quality PTFE skates for smooth gliding. Over time, these may wear down. An extra set of PTFE skates is included in your package for replacement.
- Carefully peel off the old PTFE skates using a thin, non-abrasive tool.
- Ensure the surface where the skates were is clean and free of adhesive residue.
- Peel the backing from the new PTFE skates and carefully align them with the recesses on the mouse's underside.
- د مناسب چپکولو ډاډ ترلاسه کولو لپاره په کلکه فشار ورکړئ.

4.3 د بیټرۍ پاملرنه
- د بیټرۍ په مکرر ډول د بشپړ چارج کولو څخه ډډه وکړئ.
- موږک په یخ او وچ ځای کې وساتئ کله چې د اوږدې مودې لپاره نه کارول کیږي.
- Use only the provided charging cable or a certified USB-C cable to prevent damage.
5. ستونزه حل کول
If you encounter issues with your Vancer Gretxa mouse, please refer to the following common solutions:
| ستونزه | احتمالي حل |
|---|---|
| موږک ځواب نه ورکوي |
|
| د کرسر حرکت بې نظمه یا ناڅاپي دی |
|
| تڼۍ یا سکرول ویل کار نه کوي |
|
| د بیټرۍ ضعیف ژوند |
|
6. مشخصات
Below are the technical specifications for the Vancer Gretxa Wireless Ultralight Gaming Mouse:
| فیچر | تفصیل |
|---|---|
| ماډل | Gretxa |
| ارتباط | 2.4GHz Wireless, USB-C (Wired) |
| سینسر | Pixart 3370 آپټیکل سینسر |
| وزن | تقریبا 69 ګرامه |
| ابعاد (L x W x H) | 123 x 62 x 37mm |
| د DPI تنظیمات | 400 / 800 / 1800 / 3200 / 4800 / 6400 (Adjustable) |
| د رای ورکولو کچه | ۹۹۹.۹۹ هرټز / ۹۹.۹۹ هرټز / ۹.۹۹۹ هرټز |
| LOD (د لرې کولو واټن) | 2mm (default), 1mm (adjustable via software) |
| سویچونه | TTC Gold Switches (V2 improvement) |
| سکیټس | PTFE |
| د بیټرۍ ډول | لیتیم آیون (۱ پکې شامل دی) |
| عملیاتي سیسټم | Windows 10 (and compatible with other modern OS) |
| مطابقت لرونکې وسیلې | شخصي کمپیوټر |
7. تضمین او ملاتړ
7.1 د تضمین معلومات
For the most current and detailed warranty information regarding your Vancer Gretxa Wireless Ultralight Gaming Mouse, please refer to the official Vancer website or the warranty card included with your product. Warranty terms and conditions, including duration and coverage, may vary by region and are subject to change by the manufacturer.
7.2 د پیرودونکي ملاتړ
If you require further assistance, have questions not covered in this manual, or need technical support, please visit the official Vancer website. You can typically find FAQs, driver downloads, and contact information for customer service there.