پیژندنه
The JMDHKK K19+ is an advanced multi-functional device designed for comprehensive privacy protection. It efficiently detects hidden cameras, wireless listening devices, GPS trackers, and other suspicious surveillance tools. Utilizing German microprocessor technology, it offers precise detection with a user-friendly interface, making it suitable for various environments including travel, hotels, offices, and personal spaces.
- Advanced Hidden Camera Detection: Scans for hidden cameras and unauthorized surveillance devices.
- د مقناطیسي ساحې کشف: Detects magnetic fields used by covert devices like GPS trackers.
- Superior Accuracy: Equipped with advanced German microprocessor technology for precise detection.
- د کارونکي دوستانه: Features adjustable sensitivity, simple switches, and clear signal strength indicators with audible and vibration alerts.
- وړ وړ ډیزاین: Compact and lightweight for on-the-go privacy protection.
ویډیو: یو اوورview of the JMDHKK brand's commitment to privacy protection and the K19+ detector's role in it.
د بسته محتويات
- اصلي واحد
- انتن
- GS Probe
- د چارج کیبل
- د کارن لارښود

Image: The JMDHKK K19+ detector shown with its included accessories: the main unit, RF antenna, magnetic field (GS) probe, and USB charging cable.
چمتو کول
- د RF انتن سره وصل کړئ: Carefully screw the RF antenna into the designated port on the main unit. Ensure it is securely tightened.
- Attach GS Probe: For magnetic field detection, connect the GS probe to its interface on the main unit and tighten the screw. The flexible probe can be bent to reach difficult areas.
- پاور آن: Turn the power knob clockwise until a click sound is heard to power on the device.
- حساسیت تنظیم کړئ: Initially, turn the sensitivity knob clockwise to the maximum. Then, slowly turn it counter-clockwise until the alarm stops and only 1-3 green signal bars are flashing. This sets the device to a stable detection state.
ویډیو: یو محصول پای ته ورسیدview of the K19+ detector, demonstrating its components and basic setup.

Image: The JMDHKK K19+ detector with its RF antenna attached, ready for use.
عملیاتي طریقې
1. RF Signal Detection
This mode detects wireless signals emitted by devices such as hidden listening bugs, wireless cameras, and GPS trackers. The device defaults to this mode upon power-on.
- فعالول: Ensure the RF antenna is attached. The device automatically enters RF Signal Detection mode when switched on.
- د حساسیت سمون: Adjust the sensitivity knob to find a balance where the device is not constantly alarming but is sensitive enough to detect signals.
- تفسیر: Signal bars on the LED display will light up, and the device will beep or vibrate when a wireless signal is detected. The closer you are to the source, the more bars will light up and the alarm will intensify.
- لارښوونه: To eliminate interference, switch off known electronic devices (cell phones, smartwatches, Wi-Fi routers, etc.) in your area before scanning.
Video: This comprehensive operation video for the K19+ detector demonstrates RF signal detection, magnetic field detection, IR auto scanning, flashlight, and camera lens detection.
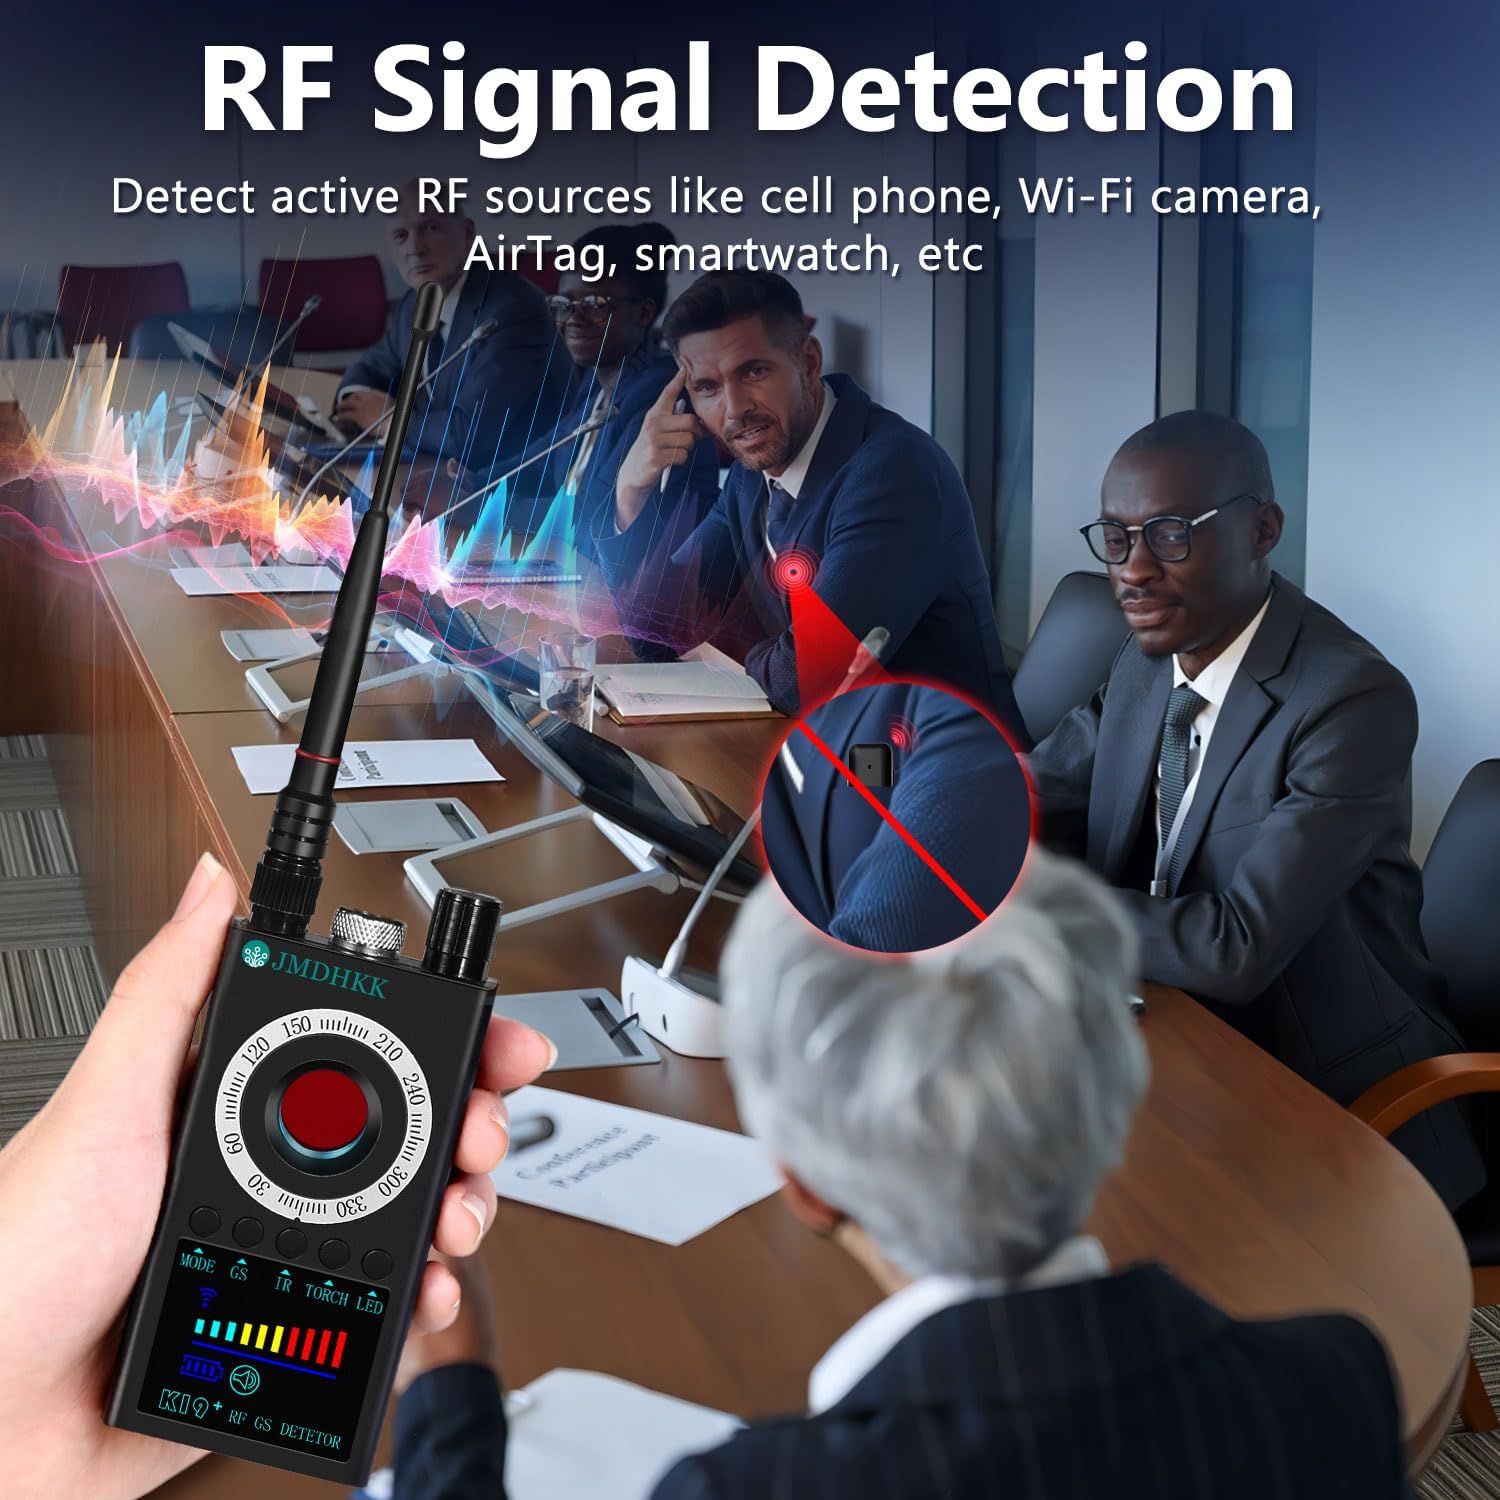
Image: The K19+ detector actively scanning for RF signals in a conference room, indicating its use for detecting wireless surveillance devices.
۵.۳. د مقناطیسي ساحې کشف
This mode is used to identify magnetic objects such as GPS trackers, magnetic spy devices, and concealed tools with magnetic components.
- فعالول: Attach the GS probe. Press and hold the "GS" button for 3-4 seconds to activate magnetic field detection. The magnetic detection icon and a white LED on the probe tip will light up.
- سکینګ: Slowly move the GS probe around areas where magnetic devices might be hidden (e.g., under car seats, in luggage).
- تفسیر: When a strong magnetic object is detected, the device will sound an alarm. The closer the probe is to the object, the more signal bars will appear.
- لارښوونه: If the GPS tracker cannot be found, reduce the detection sensitivity to narrow the search range and continue scanning.
Video: This comprehensive operation video for the K19+ detector demonstrates RF signal detection, magnetic field detection, IR auto scanning, flashlight, and camera lens detection.

Image: The K19+ detector with its flexible magnetic field probe being used to search for a hidden GPS tracker under a car seat.
3. IR Auto Scan Mode
This mode automatically detects infrared night vision devices at night or in low-light environments.
- فعالول: Press and hold the "IR" button for 3-4 seconds. A red icon will start flashing on the screen, indicating IR auto scanning is active.
- چاپیریال: For best results, use this mode in a dark room with curtains closed to eliminate natural light interference.
- کشف: The highly sensitive infrared receiver on the back of the device catches IR lights emitted by night vision cameras. When it detects any type of infrared light within a 0.5 to 10-foot range, it will automatically sound an alarm.
Video: This comprehensive operation video for the K19+ detector demonstrates RF signal detection, magnetic field detection, IR auto scanning, flashlight, and camera lens detection.
4. Camera Lens Detection (Camera Finder)
This mode detects hidden cameras by utilizing light reflection technology and special filter lenses to reveal concealed camera lenses.
- فعالول: Short press the "LASER" button to turn on the 8 red LED lights on the back of the device.
- سکینګ: له لارې وګورئ viewfinder with one eye and slowly move the detector around the area you wish to scan.
- تفسیر: If there's a hidden camera, its lens will reflect the red LED lights, appearing as a bright, flashing red dot through the viewموندونکی.
- Flashing Frequency: Press and hold the "LASER" button again to cycle through different flashing speeds for the red LEDs, which can help in identifying different types of lenses.
Video: The K19+ main video demonstrating the camera lens detection feature and how to identify hidden cameras.

Image: The K19+ detector's camera lens detection feature highlighting potential hidden cameras in a hotel room and a bathroom using its red LED lights.
5. Torch / Flashlight
The device includes an auxiliary flashlight function for lighting or emergency purposes.
- فعالول: Press and hold the "TORCH" button for 3-4 seconds to turn on the two LED lights on the back of the device.
- غیر فعالول: Short press the "TORCH" button again to turn off the lights.
- Probe Light: The search light on the GS probe head is also bright enough to be used as a night light or flashlight.
Video: This comprehensive operation video for the K19+ detector demonstrates RF signal detection, magnetic field detection, IR auto scanning, flashlight, and camera lens detection.
چارج کول
To charge the JMDHKK K19+ detector, use the provided USB charging cable.
- Connect the small end of the USB charging cable to the charging port on the side of the detector.
- Plug the other end of the USB cable into a power source (e.g., a USB wall adapter, computer USB port).
- While charging, a battery icon will appear on the screen.
- A full charge typically takes about 4 to 5 hours. It is recommended to charge your detector regularly to maintain its battery life and ensure optimal performance.
Video: This comprehensive operation video for the K19+ detector demonstrates RF signal detection, magnetic field detection, IR auto scanning, flashlight, and camera lens detection, including the charging process.
مشخصات
| فیچر | تفصیل |
|---|---|
| د ماډل نوم | K19+ Signal Detector |
| د ارتباط ټیکنالوژي | بېسیم |
| ځانګړی ځانګړنه | د پورټ وړ |
| د کور دننه / بهر کارول | دننه، بهر |
| رنګ | خړ |
| د تړلو موادو | اکریلونایتریل بوټاډین سټیرین (ABS) |
| د کنټرول طریقه | اپلیکیشن، ټچ |
| د بریښنا سرچینه | د بیټرۍ چلول |
| والیtage | 3.7 ولټه |
| واټtage | ۴۵ واټه |
| د بیټرۍ ځواک | د واټ ساعتونه |
| د توکي ابعاد | 4.09 x 2.19 x 0.79 انچه |
| د توکي وزن | 0.35 پونډه |
د ستونزو حل کول
- وسیله نه چلیږي: Ensure the battery is charged. Connect the device to the charging cable and allow it to charge for at least 30 minutes before attempting to power on again.
- Constant false alarms in RF mode: Lower the sensitivity using the adjustment knob. Move away from known wireless devices like Wi-Fi routers, cell phones, or smart devices.
- Difficulty detecting hidden cameras in IR mode: Ensure the scanning area is sufficiently dark. Close curtains or turn off lights to minimize natural light interference.
- No detection in Magnetic Field mode: Ensure the GS probe is securely attached. Increase the sensitivity gradually. The magnetic field detection is short-range, so bring the probe very close to suspected areas.
- Red LED lights not flashing in Camera Lens Detection: Ensure the device is powered on and the "LASER" button has been pressed. Check battery level.
ساتنه
- پاکول: د وسیلې د پاکولو لپاره نرم، وچ ټوکر وکاروئ. مایع پاکوونکي یا د کثافاتو مواد مه کاروئ.
- ذخیره کول: وسیله په یخ او وچ ځای کې د مستقیم لمر وړانګو او سختې تودوخې څخه لرې وساتئ.
- د بیټرۍ پاملرنه: د بیټرۍ د ژوند اوږدولو لپاره، د وسیلې په مکرر ډول په بشپړ ډول چارج کولو څخه ډډه وکړئ. په منظم ډول یې چارج کړئ، حتی که په دوامداره توګه نه کارول کیږي.
- په احتیاط سره سمبالول: دا وسیله حساس الکترونیکي برخې لري. د غورځولو یا قوي اغیزو سره مخ کیدو څخه ډډه وکړئ.
تضمین او ملاتړ
The JMDHKK K19+ Hidden Camera Detector comes with standard manufacturer support. For specific warranty details, please refer to the documentation included in your product packaging or visit the official JMDHKK webسایټ
د پراخ پوښښ لپاره اختیاري محافظتي پلانونه شتون لري:
- دوه کلن محافظتي پلان
- دوه کلن محافظتي پلان
- بشپړ محافظت (میاشتنی بلینګ)
For technical assistance or customer service, please contact JMDHKK support through their official channels.