
1. پیژندنه
This manual provides instructions for the setup, operation, maintenance, and troubleshooting of your CRUA 27-inch 240Hz QHD IPS Gaming Monitor. This monitor features a 2560x1440 QHD resolution, a 240Hz refresh rate, an IPS panel for wide viewing angles, AMD FreeSync support, a blue light filter for eye protection, and built-in speakers. Please read this manual thoroughly before using the product.
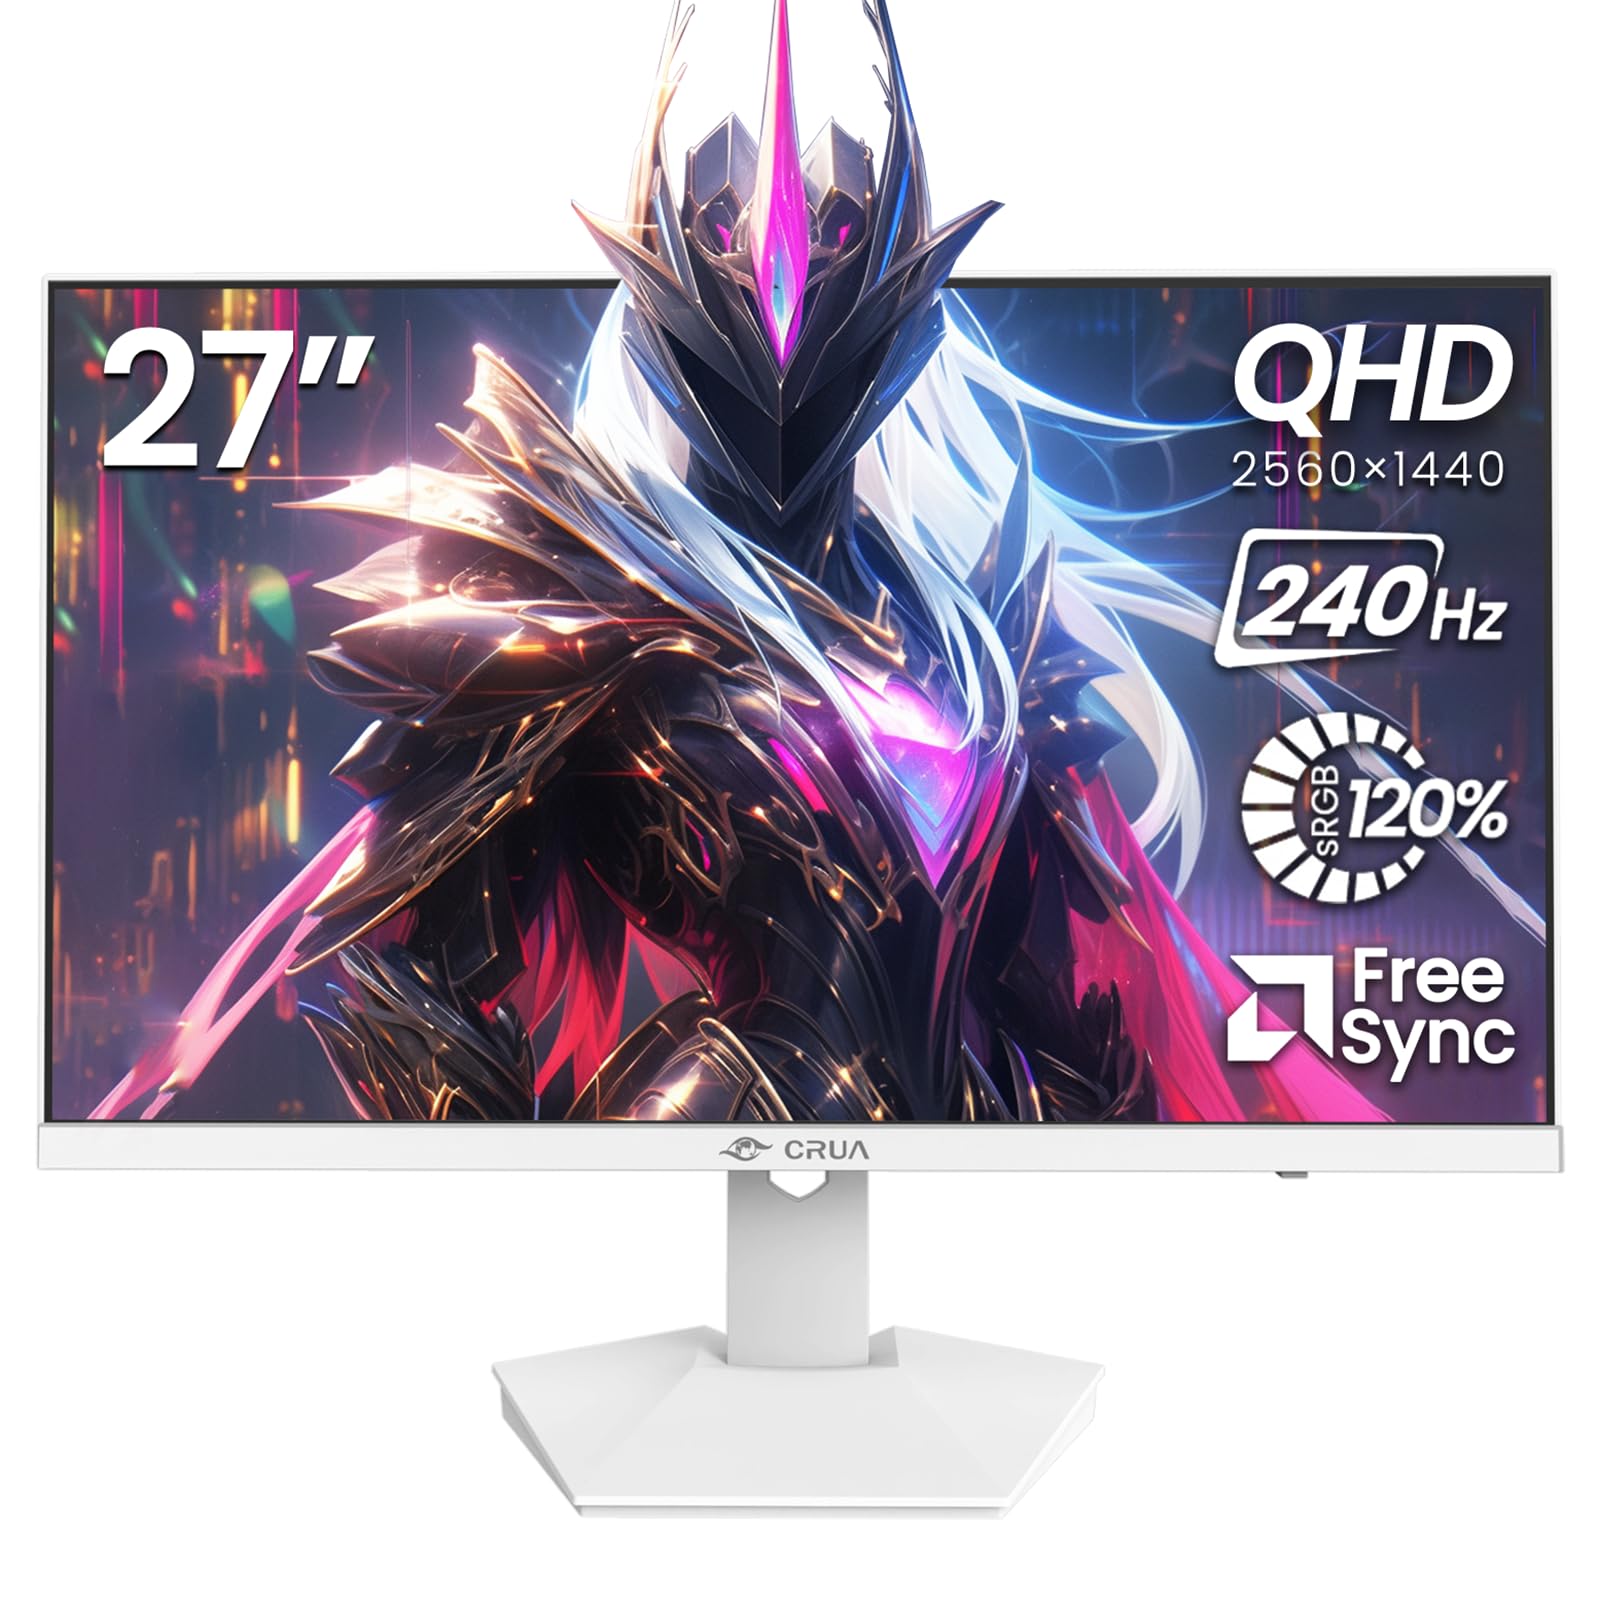
انځور: مخکینۍ برخه view of the CRUA 27-inch 240Hz QHD IPS Gaming Monitor.
2. د بسته محتويات
ډاډ ترلاسه کړئ چې ټول توکي په کڅوړه کې شتون لري:
- CRUA 27-inch 240Hz QHD IPS Gaming Monitor
- د څارنې موقف (بنسټ او غاړه)
- د بریښنا اډاپټر او کیبل
- HDMI کیبل
- د ډیسپلی پورټ (DP) کیبل
- د کارونکي لارښود (دا لاسوند)
3. ترتیب کول
۲.۲ د ولاړې اسمبلۍ
- مانیټر په احتیاط سره د هغې له بسته بندۍ څخه لرې کړئ، په نرم، پاک سطح باندې یې مخامخ کیږدئ ترڅو د سکریچونو مخه ونیول شي.
- د سټینډ غاړه د مانیټر پینل سره وصل کړئ. ډاډ ترلاسه کړئ چې دا په خوندي ډول په خپل ځای کې کلیک کوي.
- Attach the stand base to the stand neck. Tighten any screws if provided.
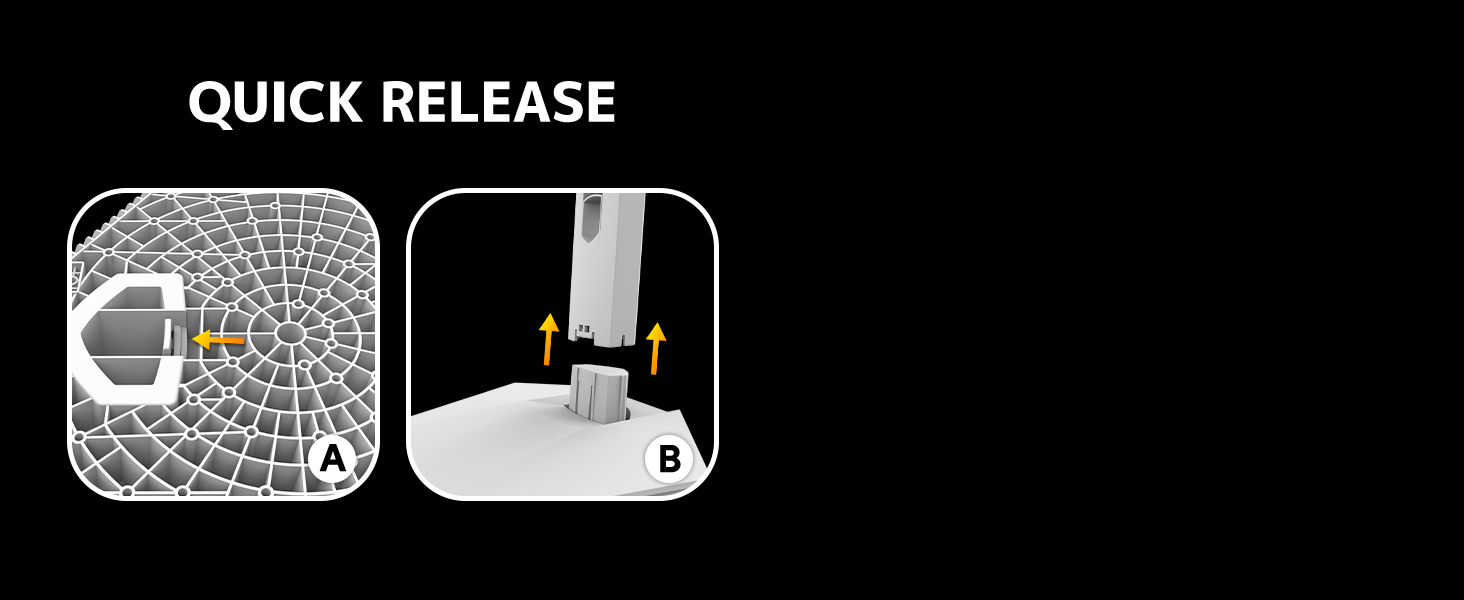
Image: Diagram illustrating the quick release stand assembly.
۴.۳ دیوال نصب کول (اختیاري)
The monitor supports VESA wall mounting (75mm x 75mm). To wall mount:
- که چیرې سټینډ لا دمخه وصل وي، نو له مانیټر څخه لرې کړئ.
- Attach a VESA-compatible wall mount bracket (not included) to the monitor using appropriate screws.
- د خوندي نصبولو لپاره د خپل دیوال ماونټ سره ورکړل شوي لارښوونې تعقیب کړئ.

انځور: شاته view of the monitor showing VESA mount points (75x75mm) and built-in speakers.
کمپیوټر سره پیوستول
مانیټر د لاندې میتودونو څخه د یوې په کارولو سره خپل کمپیوټر سره وصل کړئ:
- ډیسپلی پورټ (DP 1.4): For optimal performance, especially at 240Hz QHD resolution, use the included DisplayPort cable.
- HDMI (HDMI 2.0): Use an HDMI cable for QHD resolution at up to 144Hz.
Connect the power adapter to the monitor's power input and then plug it into a power outlet.

انځور: شاته view of the monitor displaying the input ports, including HDMI and DisplayPort.
4. عملیاتي لارښوونې
۸ پاور آن/بند
Press the power button located on the back of the monitor to turn it on or off. The power button may resemble a joystick for OSD navigation.
۳.۱ د پردې پرده ښودنه (OSD) مینو
The OSD menu allows you to adjust various monitor settings. Use the joystick-like button on the back of the monitor to navigate the menu:
- ت buttonۍ فشار کړئ: د OSD مینو خلاصوي.
- پورته/ښکته حرکت وکړئ: د مینو انتخابونو له لارې نیویګیټ کوي.
- کیڼ/ښي خوا ته حرکت وکړئ: Adjusts selected settings or enters sub-menus.
- بیا فشار ورکړئ: انتخاب تاییدوي یا له فرعي مینو څخه وځي.
4.3 د ښودلو ترتیبات
د OSD مینو دننه، تاسو کولی شئ تنظیم کړئ:
- روښانتیا/ تضاد: د رڼا او برعکس ټولیز تناسب تنظیم کړئ.
- د رنګ ترتیبات: Fine-tune color temperature, hue, and saturation. The monitor offers 120% sRGB color coverage for accurate and vibrant visuals.
- د ننوتلو سرچینه: په لاسي ډول د HDMI او DisplayPort ان پټونو ترمنځ غوره کړئ.

Image: Details on true color accuracy, including 120% sRGB, 8-bit color depth, and 16.7 million colors.
۴.۳ د لوبو ځانګړتیاوې
- د تازه کولو نرخ: The monitor supports up to 240Hz refresh rate for smooth motion. Ensure your graphics card and cable support this rate.
- AMD FreeSync: Enable FreeSync in the OSD menu and on your AMD graphics card settings to eliminate screen tearing and stuttering.

Image: Visual comparison demonstrating the smoothness of 240Hz refresh rate versus 60Hz.

Image: Illustrates the effect of Adaptive Sync (FreeSync) on reducing screen tearing and stuttering.
۴.۶ د سترګو ساتنه
The monitor includes a built-in blue light filter to reduce eye strain during extended use. This feature can be enabled or adjusted through the OSD menu.
5. ساتنه
د خپل مانیټر فعالیت او بڼه ساتلو لپاره:
- د سکرین پاکول: سکرین په نرمۍ سره د نرم، لینټ نه پاک ټوکر سره پاک کړئ. د سختو نښو لپاره، د مانیټر ځانګړي پاکولو محلول وکاروئ چې په ټوکر باندې تطبیق شي، نه په مستقیم ډول په سکرین باندې.
- د سي پاکولasing: د مانیټر د پاکولو لپاره نرم، وچ ټوکر وکاروئ casinج. د کثافاتو پاکوونکو یا محلولونو څخه ډډه وکړئ.
- بندول: تل مانیټر بند کړئ او د پاکولو دمخه یې د بریښنا له سایټ څخه خلاص کړئ.
6. ستونزه حل کول
| ستونزه | احتمالي لامل | د حل لاره |
|---|---|---|
| په پرده هیڅ عکس نشته | Monitor is off or not receiving signal. | Ensure power cable is connected and monitor is on. Check video cable connection (HDMI/DP) to both monitor and computer. Select correct input source via OSD. |
| انځور ځلېږي یا څرېږي | FreeSync not enabled or incompatible settings. | Enable FreeSync in the monitor OSD and your graphics card control panel. Ensure your graphics card drivers are up to date. |
| Poor picture quality (blurry, incorrect colors) | Incorrect resolution, color settings, or faulty cable. | Set display resolution to 2560x1440. Adjust brightness, contrast, and color settings in the OSD. Try a different video cable. |
| د جوړ شوي سپیکرو څخه هیڅ غږ نشته | Volume too low, incorrect audio output selected. | Increase monitor volume via OSD. Ensure the monitor is selected as the audio output device in your computer's sound settings. |
| مړه پکسلونه | د تولید نیمګړتیا. | Refer to warranty information for pixel policy. Contact customer support if within warranty. |
7. مشخصات
| فیچر | مشخصات |
|---|---|
| د ماډل شمیره | CR270I |
| د سکرین اندازه | ۷۸۷ انچه |
| د پینل ډول | IPS |
| قرارداد | 2560 x 1440 (QHD) |
| د تازه کولو نرخ | 240Hz |
| د اړخ نسبت | 16:9 |
| رنګ Gamut | 120٪ sRGB |
| روښانتیا | 300 cd/m² |
| د تناسب تناسب | 1000:1 |
| Viewزاویه | ۱۷۸° (افقي/عمودي) |
| د ویډیو داخلونه | HDMI 2.0، ډیسپلی پورټ 1.4 |
| آډیو | جوړ شوي سپیکرونه |
| VESA ماونټ | 75mm x 75mm |
| د محصول ابعاد | 1.78 x 24 x 14 انچه |
| د توکي وزن | ۲.۴۵ پونډه |
8. تضمین او ملاتړ
CRUA provides high-quality computer monitors and premium services. If you have any questions or require assistance, please contact CRUA customer support. Refer to your purchase documentation for specific warranty terms and contact information.