1. پیژندنه
This manual provides comprehensive instructions for the safe and efficient operation of your JVC DR-MV150 DVD Video Recorder VHS Hi-Fi Stereo. Please read this manual thoroughly before using the unit and retain it for future reference. The DR-MV150 combines a DVD recorder and a VHS VCR into a single unit, offering versatile playback and recording capabilities for various media formats.
2. د خوندیتوب معلومات
- د بریښنا سرچینه: Connect the unit only to the specified power supply. Ensure the voltage د واحد اړتیاوې پوره کوي.
- وینټیلیشن: د هوا د جریان لارې مه بندوئ. د یونټ شاوخوا کافي ځای پریږدئ ترڅو د ډیر تودوخې مخه ونیول شي.
- رطوبت: Do not expose the unit to rain, moisture, or excessive humidity. Avoid placing objects filled with liquids, such as vases, on the unit.
- پاکول: د پاکولو دمخه د بریښنا تار جلا کړئ. نرم او وچ ټوکر وکاروئ. مایع یا ایروسول پاکوونکي مه کاروئ.
- خدمت کول: د دې واحد د خدمت کولو هڅه مه کوئ. ټول خدمتونه وړ خدماتو پرسونل ته راجع کړئ.
- ځای په ځای کول: دا واحد په یوه مستحکم او هموار سطحه کېږدئ. د تودوخې سرچینو ته نږدې یا په مستقیم لمر کې یې له کیښودلو څخه ډډه وکړئ.
3. د بسته محتويات
ډاډ ترلاسه کړئ چې ټول توکي په کڅوړه کې شتون لري:
- JVC DR-MV150 DVD Video Recorder VHS Hi-Fi Stereo Unit
- ریموټ کنټرول
- د بریښنا کیبل
- HDMI کیبل
- د RCA آډیو/ویډیو کیبلونه
- د لارښود لارښود (دا سند)

This image displays the JVC DR-MV150 DVD Video Recorder, its remote control, power cable, HDMI cable, RCA cables, and the included instruction manual, illustrating the complete package contents.
4. ترتیب کول
4.1 د واحد سره نښلول
Follow these steps to connect your DR-MV150 to your television and other audio/video equipment.
- د بریښنا پیوستون: Connect the supplied power cable to the AC IN port on the rear of the unit and then to a wall outlet.
- د ویډیو اتصال (HDMI): For the best picture quality, connect an HDMI cable from the HDMI OUTPUT port on the rear of the DR-MV150 to an HDMI input on your television. This connection supports 1080p up-conversion.
- Video Connection (RCA): Alternatively, or for older televisions, connect the yellow video cable from the VIDEO OUT port on the DR-MV150 to the VIDEO IN port on your television. Connect the red and white audio cables from the AUDIO OUT (R/L) ports to the corresponding AUDIO IN (R/L) ports on your television or audio receiver.
- د انتن / کیبل پیوستون: Connect your antenna or cable TV line to the ANTENNA IN port on the rear of the unit.
- External Device Connection (Front A/V Input): For connecting external devices like camcorders, use the front panel DV IN or analog audio/video input ports.
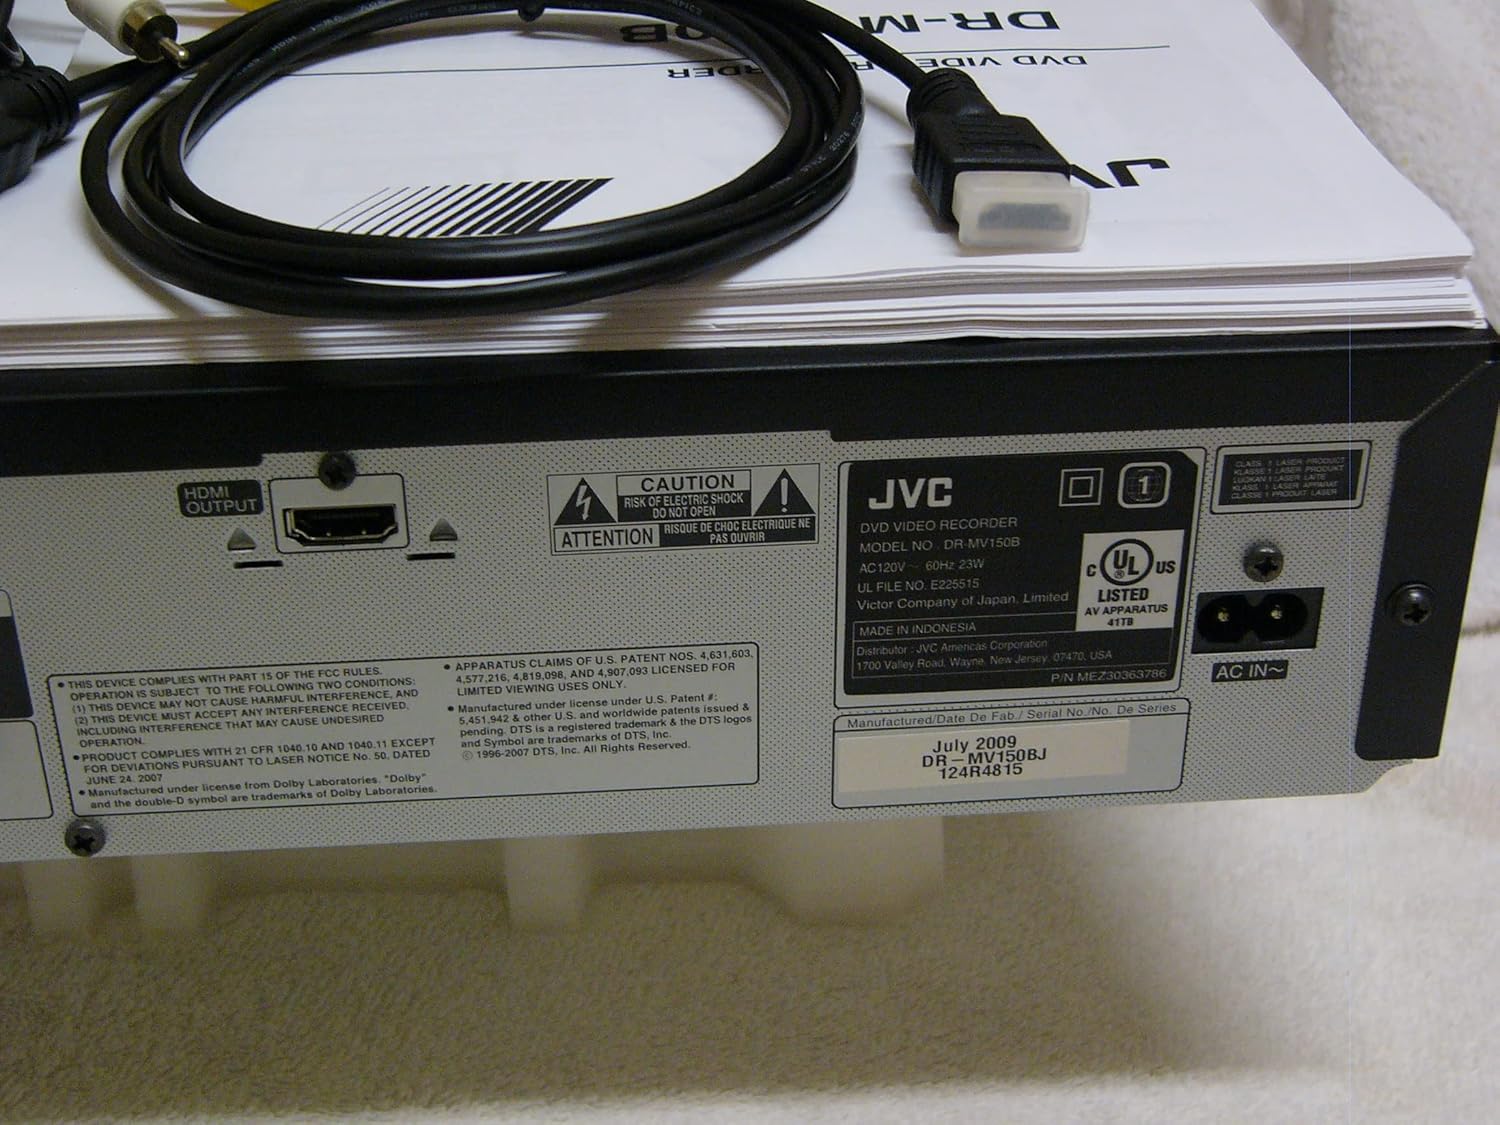
The rear panel of the JVC DR-MV150, displaying the HDMI OUTPUT port for high-definition connection, the AC IN power input, and various regulatory and manufacturing labels.

یو مفصل view of the front panel of the JVC DR-MV150, highlighting the DV IN port and the analog audio (white, red) and video (yellow) input jacks, typically used for connecting external devices like camcorders.
۳.۲ د ریموټ کنټرول بیټرۍ نصب کول
Insert two AAA batteries into the remote control, ensuring correct polarity (+/-). The remote control is essential for accessing all functions of the DR-MV150.

This image features the remote control for the JVC DR-MV150, alongside an HDMI cable and a set of RCA audio/video cables, which are essential for connecting and operating the device.
5. عملیاتي لارښوونې
۶.۱ بنسټیز پلې بیک
- د ډي وي ډي غږول: Open the DVD tray, place a DVD disc (DVD-R/RW, CD, SVCD, VCD, CD-R/RW) with the label side up, and close the tray. The unit should automatically begin playback or display a menu.
- د VHS غږول: Insert a VHS tape into the VCR slot. The unit will typically begin playback automatically.

This image focuses on the DVD tray section of the JVC DR-MV150, labeled 'Super MULTI' indicating its multi-format compatibility. Below the tray are various control buttons for DVD operation, along with logos for DivX, DTS, Dolby Digital Recording, and DVD Video.
5.2 ثبتول
The DR-MV150 supports recording to various DVD formats (DVD-RAM, DVD-RW, DVD-R, +RW, +R) and VHS Hi-Fi tapes.
- Recording to DVD: Insert a recordable DVD disc. Select the input source (e.g., TV tuner, external A/V input). Press the RECORD button on the unit or remote.
- Recording to VHS: Insert a VHS tape. Select the input source. Press the RECORD button.
- په ورته وخت کې عملیات: The unit allows for simultaneous DVD playback while recording to VHS, or vice-versa, depending on the source and destination.
- د ډیسکونو وروستۍ کول: After recording to a DVD-R, DVD+R, or DVD-RW (VR mode), the disc may need to be finalized to be playable on other DVD players. Refer to the on-screen menu for the finalizing option.
5.3 پرمختللی ځانګړتیاوې
- 1080p Up-conversion: When connected via HDMI, the unit can upscale standard definition content to 1080p resolution for improved picture quality on compatible displays.
- پرمختللی سکین: Provides a smoother, flicker-free image, especially beneficial for fast-moving scenes.
- ATSC Tuner: The integrated ATSC tuner allows reception of over-the-air digital television broadcasts.
6. ساتنه
6.1 د واحد پاکول
- بهر: بهرنۍ سطحې د نرم او وچ ټوکر سره پاک کړئ. د سختو نښو لپاره، لږ څهampټوکر په اوبو سره ومینځئ او بیا یې وچ کړئ. د کثافاتو پاکوونکو یا محلولونو څخه ډډه وکړئ.
- Disc Tray/VCR Slot: Keep the disc tray and VCR slot free of dust and debris. Do not insert foreign objects.
6.2 عمومي پاملرنه
- Avoid exposing the unit to extreme temperatures or direct sunlight.
- د واحد په سر کې درانه شیان مه مه اچوئ.
- Handle discs and tapes carefully to prevent scratches or damage.
7. ستونزه حل کول
If you encounter issues with your DR-MV150, refer to the following common troubleshooting steps:
- ځواک نشته: Ensure the power cable is securely connected to both the unit and a working wall outlet.
- انځور/غږ نشته: Verify all audio and video cables (HDMI, RCA) are correctly connected to the appropriate input/output ports on both the DR-MV150 and your television/receiver. Ensure the correct input source is selected on your television.
- Disc Not Playing/Recording: Check that the disc is clean, free of scratches, and inserted correctly (label side up). Ensure the disc format is supported by the unit. For recording, ensure the disc is recordable and not full or finalized (if applicable).
- VHS Tape Issues: Ensure the tape is inserted correctly and not damaged.
- ریموټ کنټرول کار نه کوي: Check the batteries in the remote control and ensure there are no obstructions between the remote and the unit's sensor.
- بې ځوابه واحد: Try unplugging the unit from the power outlet for a few minutes, then plug it back in to reset it.
If problems persist after attempting these steps, contact JVC customer support or a qualified service technician.
8. مشخصات
| فیچر | مشخصات |
|---|---|
| د ماډل نوم | DR-MV150 |
| د محصول ابعاد | 19 x 15 x 7 انچه |
| د توکي وزن | ۲.۴۵ پونډه |
| د رسنیو ډول | سي ډي، ډي وي ډي، ايس وي سي ډي، وي سي ډي، وي ايچ ايس |
| د ثبت وړ بڼې | VHS Hi-Fi, DVD-RAM, DVD-RW, DVD-R, +RW, +R |
| ځانګړی ځانګړنه | پرمختګ کونکی سکین |
| قرارداد | 1920x1080 (HDMI output with 1080p up-conversion) |
| د نښلونکي ډول | HDMI, RCA (Audio/Video) |
| د ارتباط ټیکنالوژي | HDMI |
| د آډیو وتلې حالت | سټیریو |
| مدغم شوی تونر | ATSC/QAM Tuner |
| بیټرۍ (ریموټ) | 2 AAA بیټرۍ ته اړتیا ده |
| جوړونکی | JVC |
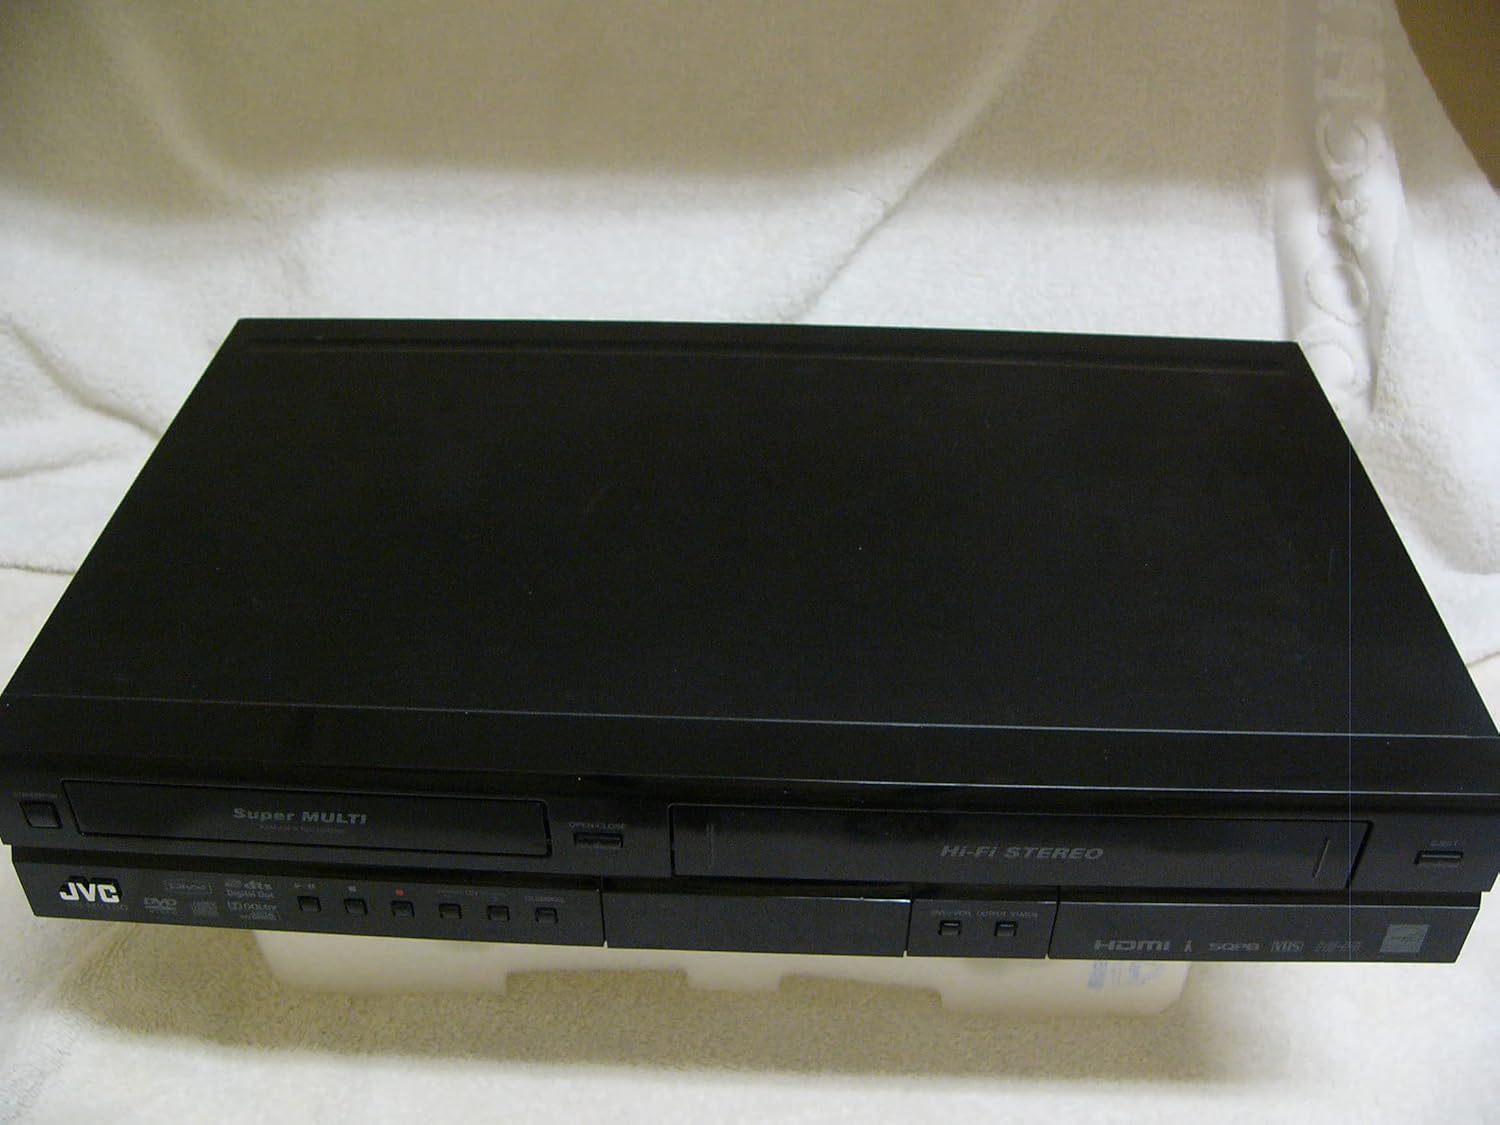
A top-down perspective of the JVC DR-MV150 unit, showcasing its sleek black design and dual-deck configuration for both DVD and VHS media.
9. تضمین او ملاتړ
For warranty information, please refer to the documentation included with your purchase or visit the official JVC website. JVC offers various protection plans for extended coverage. For technical support or service inquiries, please contact JVC customer service.
- د ساتنې څلور کلن پلان: د پراخ پوښښ لپاره شتون لري.
- د ساتنې څلور کلن پلان: د پراخ پوښښ لپاره شتون لري.
- بشپړ ساتنه: یو میاشتنی پلان چې د تیرو او راتلونکو پیرودونو وړ پوښښ لري.
Please note that protection plans are separate from the manufacturer's warranty and provide additional coverage options.


