1. پیژندنه
Thank you for choosing the Phylrich KSB40/26D Regent Towel Ring. This manual provides detailed instructions for the proper installation, use, and maintenance of your new towel ring. Please read this manual thoroughly before beginning installation and retain it for future reference.
2. د خوندیتوب معلومات
- د نصبولو پرمهال تل مناسب خوندیتوب وسایل واغوندئ، لکه د خوندیتوب عینکې.
- Ensure that mounting surfaces are structurally sound and can support the weight of the towel ring and any towels.
- Use caution when using power tools to avoid injury or damage to surfaces.
- کوچني برخې له ماشومانو څخه لرې وساتئ ترڅو د ټکولو خطرونو مخه ونیسئ.
3. د بسته محتويات
مهرباني وکړئ د نصبولو پیل کولو دمخه تصدیق کړئ چې ټولې برخې شتون لري:
- Towel Ring Assembly
- د خولو لگول
- د نصبولو پیچونه (معمولا ۲)
- Wall Anchors (if applicable for drywall installation)
- Hex Wrench (for set screw)
4. اړین وسایل
د نصبولو لپاره معمولا لاندې وسایلو ته اړتیا وي:
- د فیلیپس سر سکریډرایور
- Drill with appropriate drill bit (e.g., 1/4 inch for wall anchors)
- پنسل
- د اندازه کولو ټیپ
- کچه
5. ترتیب او نصب کول
Follow these steps to properly install your Phylrich KSB40/26D Regent Towel Ring:
- ځای غوره کړئ: Select a suitable location on your wall, ensuring it is at a convenient height and clear of any electrical wiring or plumbing. Use a level to mark the desired position for the mounting bracket.
- د سوراخونو نښه کول: Hold the mounting bracket against the wall at the marked location. Use a pencil to mark the positions for the two screw holes.
- د پیلوټ سوراخ ډرل: Using a drill with an appropriate drill bit (e.g., 1/4 inch for drywall anchors), drill pilot holes at the marked locations. If drilling into a wall stud, a smaller pilot hole may be sufficient. If installing into drywall without a stud, insert the wall anchors into the pilot holes until flush with the wall surface.
- د نصب کولو بریکٹ ضمیمه کړئ: Align the mounting bracket with the pilot holes (or anchors). Secure the bracket to the wall using the provided mounting screws and a Phillips head screwdriver. Ensure the bracket is firmly attached and level.
- Attach Towel Ring Assembly: Position the towel ring assembly over the mounted bracket. The base of the towel ring should fit snugly over the bracket.
- Secure Towel Ring: Locate the small set screw on the underside of the towel ring base. Use the provided hex wrench to tighten this set screw. This will secure the towel ring assembly to the mounting bracket. Do not overtighten.
- د ثبات ازموینه: Gently pull on the towel ring to ensure it is securely fastened to the wall.
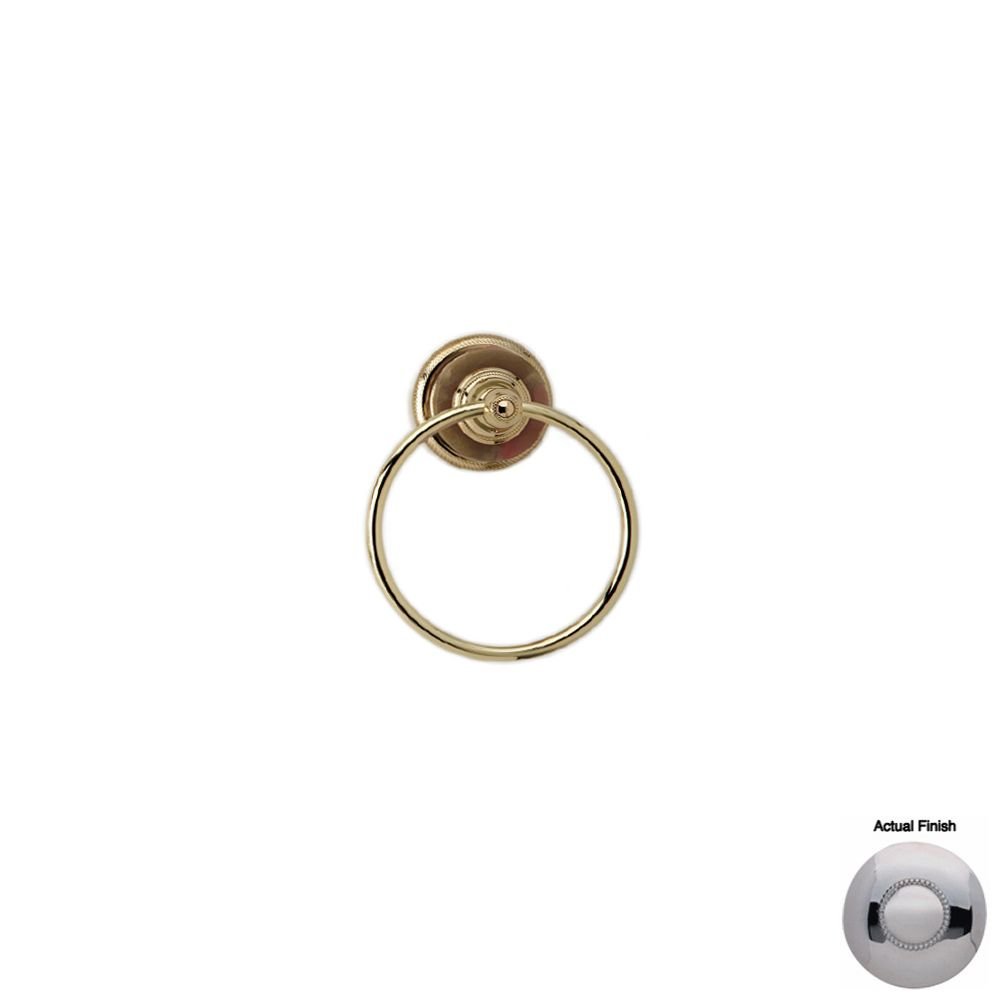
Image 1: The Phylrich KSB40/26D Regent Satin Chrome Towel Ring, shown installed. This image illustrates the product's appearance and how it would look mounted in a bathroom setting.
6. عملیاتي لارښوونې
The Phylrich KSB40/26D Regent Towel Ring is designed for holding towels. Simply drape your towel over the ring. Avoid hanging excessively heavy items on the towel ring, as this may compromise its stability or damage the mounting surface.
7. ساتنه
To maintain the finish and appearance of your towel ring:
- په منظم ډول د نرم، دamp ټوکر
- Avoid using abrasive cleaners, harsh chemicals, or scouring pads, as these can damage the satin chrome finish.
- For stubborn spots, a mild soap solution can be used, followed by rinsing with clean water and drying thoroughly.
8. ستونزه حل کول
Issue: Towel ring feels loose.
احتمالي لامل: The set screw securing the towel ring to the mounting bracket may have loosened over time.
حل لاره: Locate the set screw on the underside of the towel ring base. Use the hex wrench to gently tighten the set screw until the towel ring is firm. Do not overtighten.
Issue: Towel ring is wobbly on the wall.
احتمالي لامل: The mounting screws securing the bracket to the wall may be loose, or the wall anchors may not be properly seated.
حل لاره: Remove the towel ring assembly by loosening the set screw. Check the mounting bracket. Tighten the mounting screws. If wall anchors were used, ensure they are fully expanded and secure. If the wall material is damaged, consider relocating the towel ring or using more robust anchors.
9. مشخصات
- نښه: فیلریچ
- د ماډل شمیره: KSB40/26D
- پای: ساټین کروم
- د توکو بسته بندي مقدار: 1
- ASIN: B0067PANRM
- د لومړي شتون نیټه: د ۲۰۲۳ کال د نومبر ۳۰مه
10. تضمین او ملاتړ
For warranty information or technical support, please refer to the official Phylrich webسایټ ته مراجعه وکړئ یا د دوی د پیرودونکو خدماتو څانګې سره اړیکه ونیسئ. د پیرود ثبوت په توګه د پیرود رسید وساتئ.
Phylrich Official Webسایټ: www.phylrich.com


