1. محصول ختم شوview
The Midiplus Studio M is a compact and high-performance USB audio interface designed for studio recording. It features one input and two outputs, supporting high-quality microphone input and 24-bit/192kHz high-precision sampling. The device is powered via PC USB and includes 48V phantom power for condenser microphones. Its small, exquisite design is compatible with both Mac and Windows operating systems, making it a versatile tool for musicians and producers.
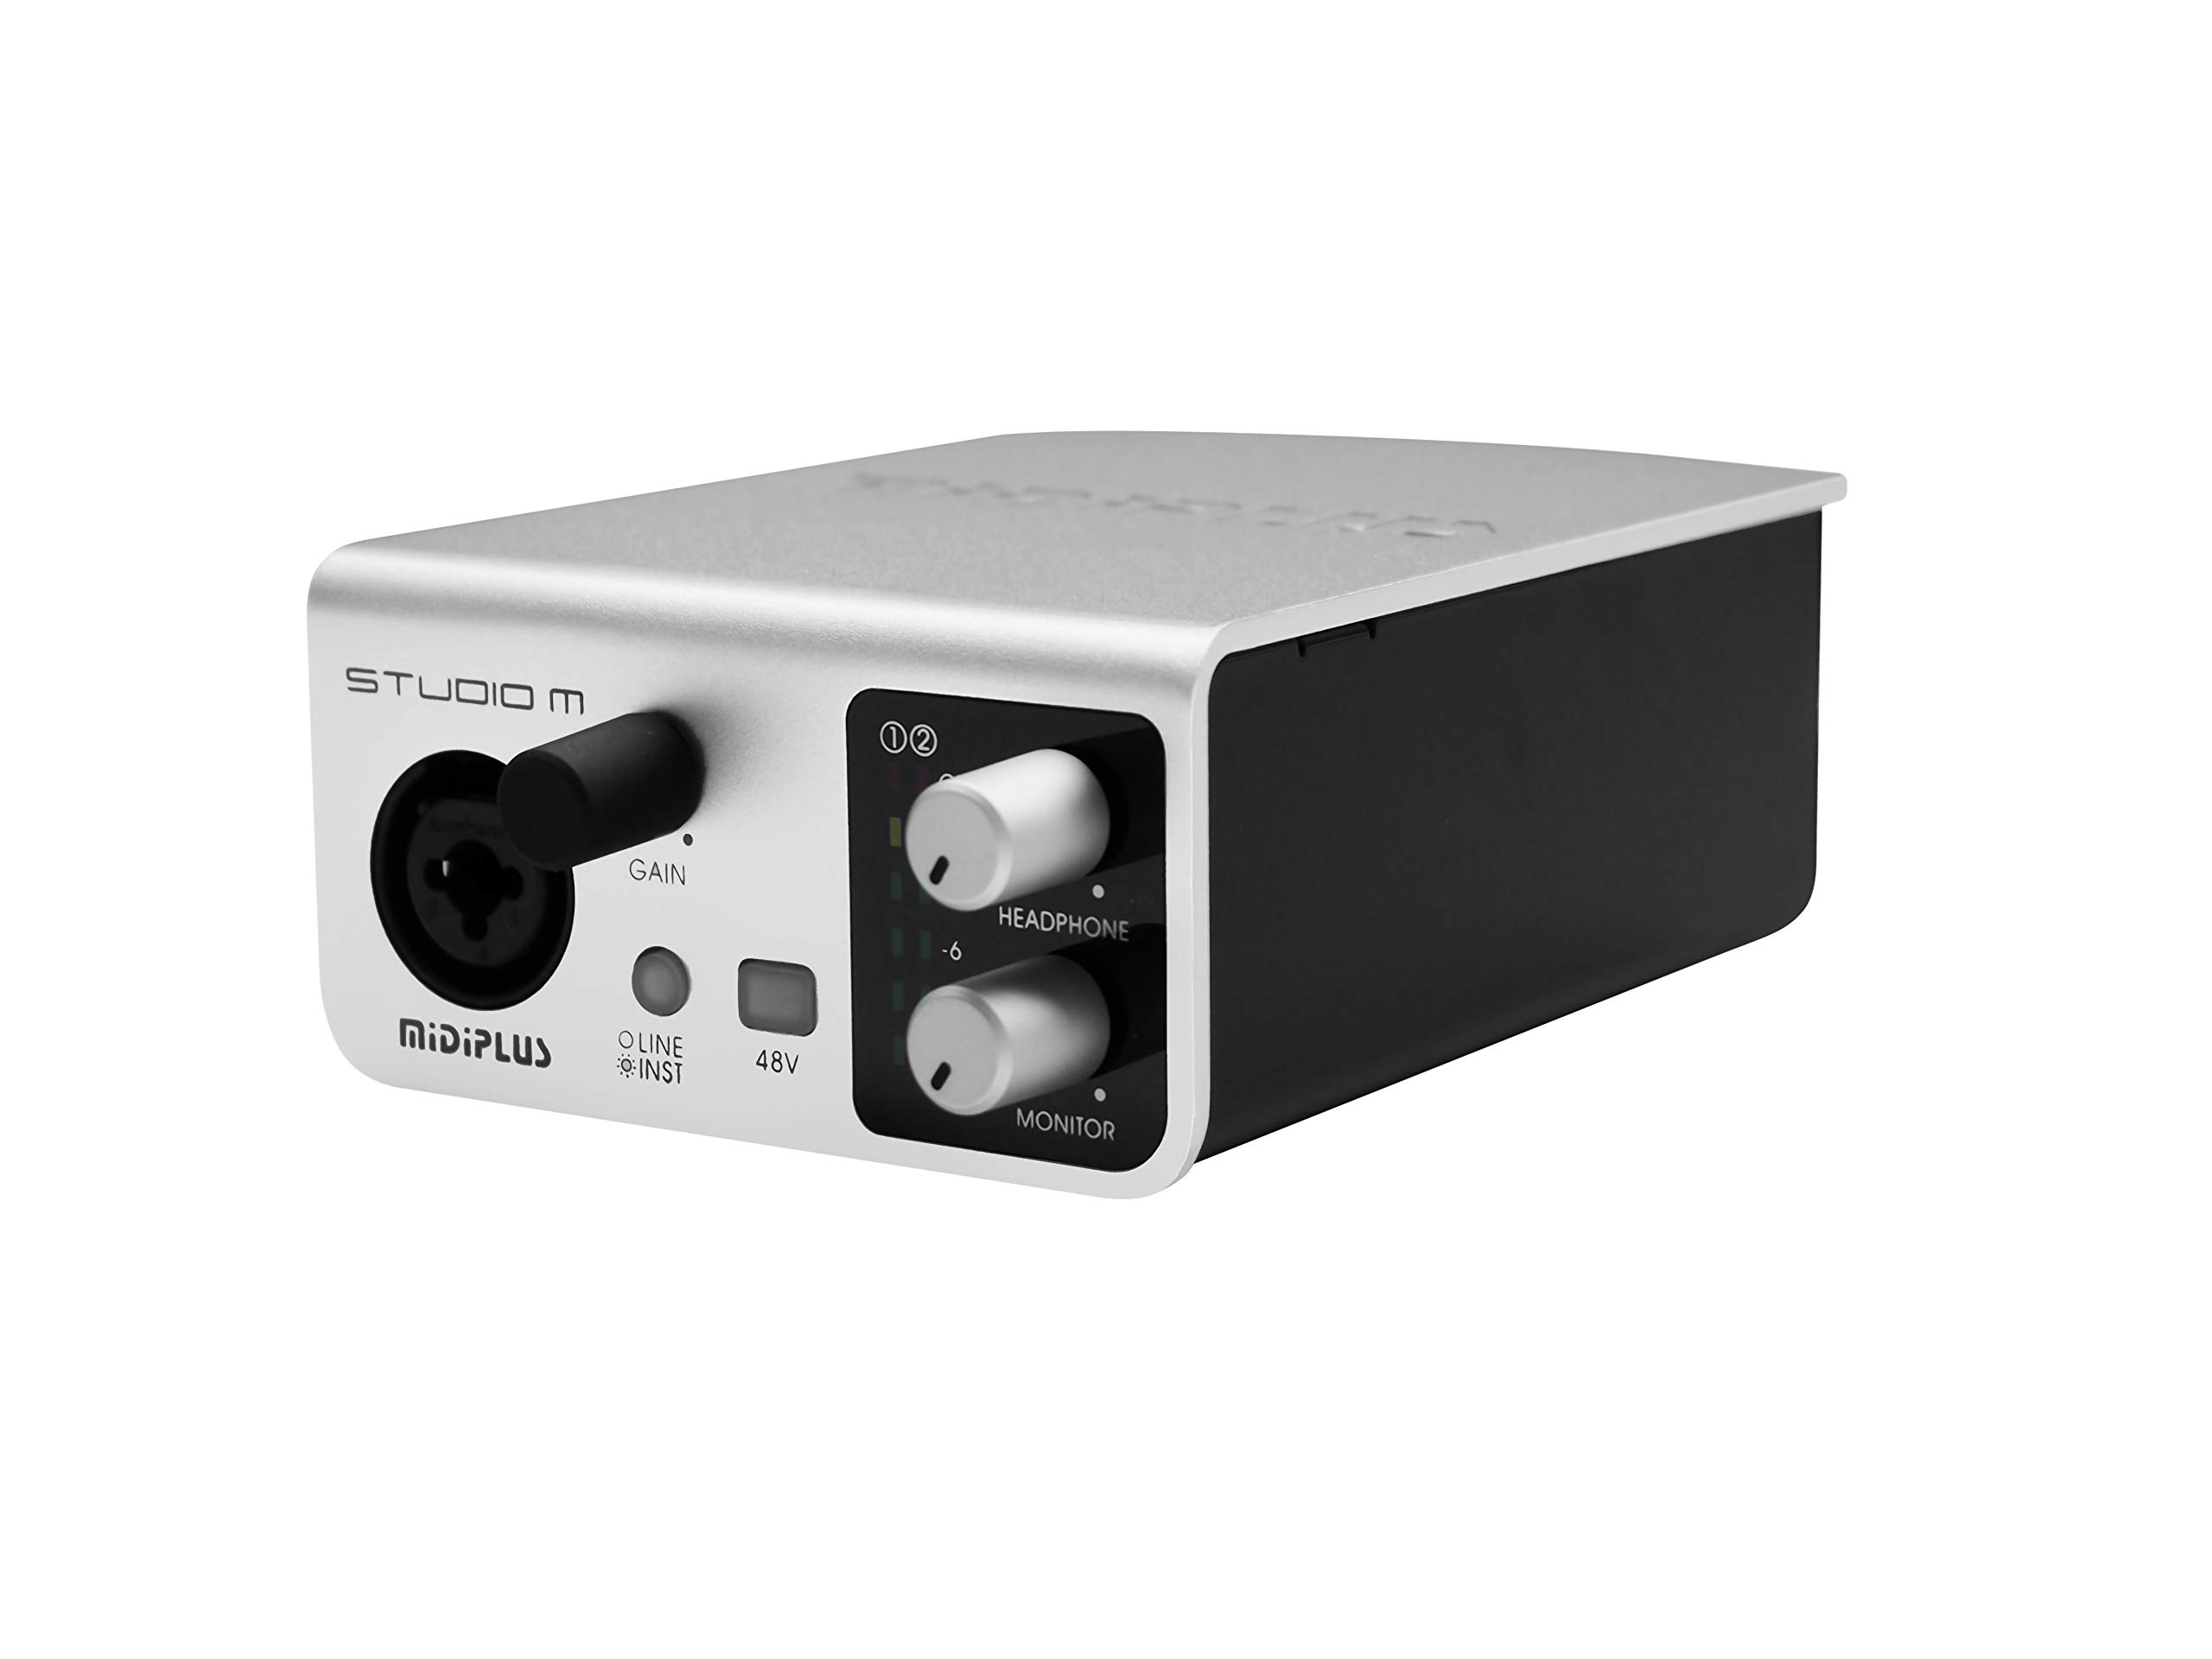
شکل ۲.۲: مخکینۍ او شاته view of the Midiplus Studio M USB Audio Interface.
2. د تنظیم کولو لارښود
2.1 د بسته محتويات
- Midiplus Studio M USB Audio Interface
- USB کیبل
- د مالک لارښود (دا سند)
- د خبرتیا کارت
2.2 د سیسټم اړتیاوې
- عملیاتي سیسټم: وینډوز، macOS
- Compatible Devices: Personal Computer with USB port
2.3 د آلې سره نښلول
- Connect the Midiplus Studio M to your computer using the provided USB cable. The device is USB-powered.
- Ensure your operating system (Windows or macOS) recognizes the device. Drivers may be required for optimal performance; refer to the Midiplus webد وروستي ډرایور ډاونلوډونو لپاره سایټ.
- Connect your microphone or instrument to the Input (MIC/Line/Hi-z) interface on the front panel.
- Connect your headphones to the headphone interface on the front panel, or your studio monitors to the Output interface (Left/Right) on the rear panel.

Figure 2: Midiplus Studio M connected to a computer, showing input and output cables.
3. عملیاتي لارښوونې
3.1 د مخکني پینل کنټرولونه
- Input Gain Control Knob: Adjusts the input level for the connected microphone or instrument.
- Switch (Mic/Instrument) Button: Toggles between microphone and instrument input modes.
- 48V Phantom Power ON/OFF: Activates or deactivates 48V phantom power for condenser microphones.
- Headphone Volume Control Button: Adjusts the output volume for connected headphones.
- Output Volume Control Button: Adjusts the main output volume for connected studio monitors.

Figure 3: Midiplus Studio M in a studio setup, demonstrating its compact size and integration.
3.2 د شا پینل پیوستون
- USB انٹرفیس: USB2.0 port for connection to your computer and power supply.
- Output Interface (Left/Right): Connects to your studio monitors or other output devices.
- Extensible Device Interface: Provides additional connectivity options for other devices.
4. ساتنه
- وسیله د نرم او وچ ټوکر سره پاکه وساتئ. د سختو کیمیاوي موادو یا کثافاتو موادو کارولو څخه ډډه وکړئ.
- ډاډ ترلاسه کړئ چې ټول کیبلونه په خوندي ډول وصل دي ترڅو د سیګنال له لاسه ورکولو یا زیان مخه ونیسي.
- انٹرفیس په یخ او وچ ځای کې د مستقیم لمر وړانګو او سختې تودوخې څخه لرې وساتئ.
- د واحد په سر کې د درنو شیانو له ایښودلو ډډه وکړئ.
5. ستونزه حل کول
۶.۱ د غږ محصول نشته
- Check all cable connections (USB, input, output, headphones).
- Ensure the device is powered on and recognized by your computer.
- Verify that the output volume controls (headphone and main output) are turned up.
- Check your computer's sound settings to ensure the Midiplus Studio M is selected as the output device.
5.2 Input Signal Issues
- Adjust the Input Gain Control Knob.
- Ensure the correct input mode (Mic/Instrument) is selected.
- If using a condenser microphone, verify that 48V Phantom Power is enabled.
- Check the microphone/instrument cable for damage.
۷.۴ وسیله د کمپیوټر لخوا نه پیژندل کیږي
- هڅه وکړئ د USB کیبل په خپل کمپیوټر کې یو بل USB پورټ ته وصل کړئ.
- خپل کمپیوټر بیا پیل کړئ.
- Ensure the latest drivers for the Midiplus Studio M are installed from the official Midiplus webسایټ
- که شتون ولري د بل USB کیبل سره ازموینه وکړئ.
6. تخنیکي مشخصات
| فیچر | تفصیل |
|---|---|
| د ماډل شمیره | Studio M |
| برانډ | Midiplus |
| د ارتباط ټیکنالوژي | USB (USB2.0) |
| د آډیو ریزولوشن | 24-بټ / 192kHz |
| داخلونه | 1 (MIC/Line/Hi-z) |
| محصولات | 2 (Left/Right) |
| د پرینټ ځواک | ۴۸ وولټ (د بدلولو وړ) |
| مطابقت لرونکي عملیاتي سیسټمونه | وینډوز، macOS |
| د محصول ابعاد | 5.28 x 3.54 x 1.89 انچه |
| د توکي وزن | 14.1 اونس (0.4 کیلوګرامه) |
7. تضمین او ملاتړ
For warranty information and technical support, please refer to the official Midiplus website or contact your local dealer. Keep your purchase receipt as proof of purchase for any warranty claims.


