1. پیژندنه
The GameMax Expedition is a compact Micro ATX PC gaming case designed for efficient cooling and component compatibility. This manual provides instructions for the proper installation, operation, and maintenance of your PC case.

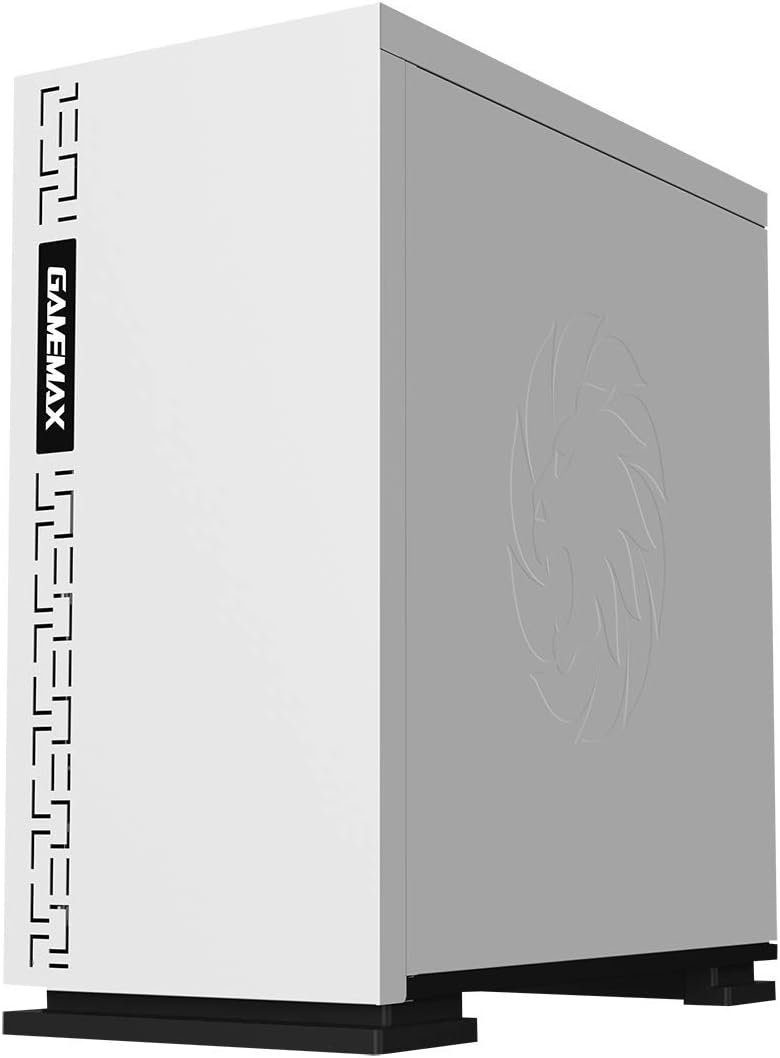
Figure 1.1: GameMax Expedition MATX PC Gaming Case, White.
2. د خوندیتوب معلومات
- Always disconnect power from all components before installation or maintenance.
- د جامد ضد لاس پټه واغوندئ ترڅو د الکتروسټاتیک خارجیدو (ESD) اجزاو ته زیان ونه رسوي.
- Be cautious of sharp edges inside the chassis.
- کوچنۍ برخې او پیچونه له ماشومانو لرې وساتئ.
- Ensure proper ventilation around the case during operation.
3. د بسته محتويات
ډاډ ترلاسه کړئ چې ټول توکي په کڅوړه کې شتون لري:
- GameMax Expedition MATX PC Gaming Case
- د لوازمو بکس (پیچونه، سټینډ آفونه، کیبل اړیکې)
- 1 x 120mm Blue LED Fan (pre-installed at rear)
- د کارونکي لارښود (دا لاسوند)
4. د محصول ب Featuresې
- Micro Gaming Chassis: Compact design optimized for gaming components.
- I/O بندرونه: 1 x USB 3.0, 2 x USB 2.0, and HD Audio ports located on the top panel.
- یخ کول: Includes 1 x 120mm Blue LED fan. Supports additional fans for enhanced airflow.
- د غاړې کړکۍ: Full side window panel allows visibility of internal components.
- Magnetic Dust Filter: Removable dust filter on the top panel for easy cleaning and improved system longevity.
- GPU Bracket: Integrated bracket provides support for graphics cards, preventing sag and accommodating larger cards.
5. اجزا ختمview
5.1 بهرنی Views

Figure 5.1: Front panel design with air intake and included 120mm fan illustration.

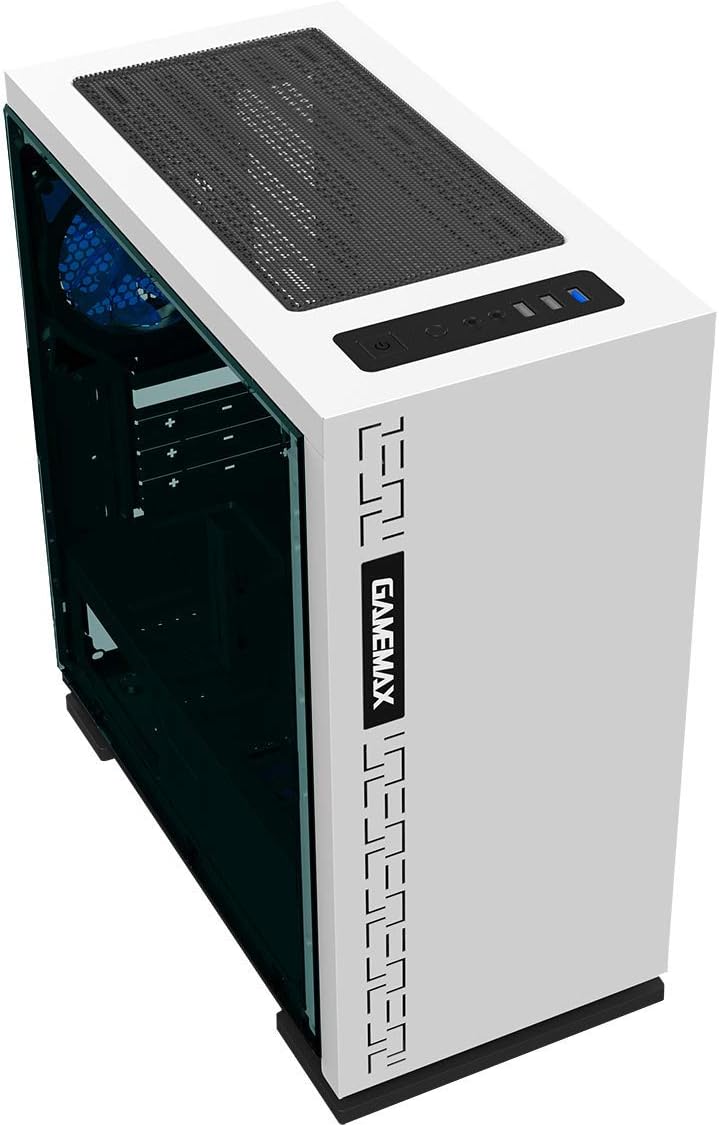
Figure 5.2: Top I/O panel featuring USB 3.0, USB 2.0, and audio ports.
شکل 5.3: پورته view showing the magnetic dust filter for fan ventilation.
شکل 5.4: شاته view displaying expansion slots and the pre-installed 120mm fan.
5.2 Internal Layout

شکل 5.5: داخلي view with the side panel removed, showing the motherboard tray and cable routing options.

Figure 5.6: Illustration of fan and radiator mounting points within the chassis.

Figure 5.7: Drive bay locations supporting 2.5" and 3.5" storage devices.
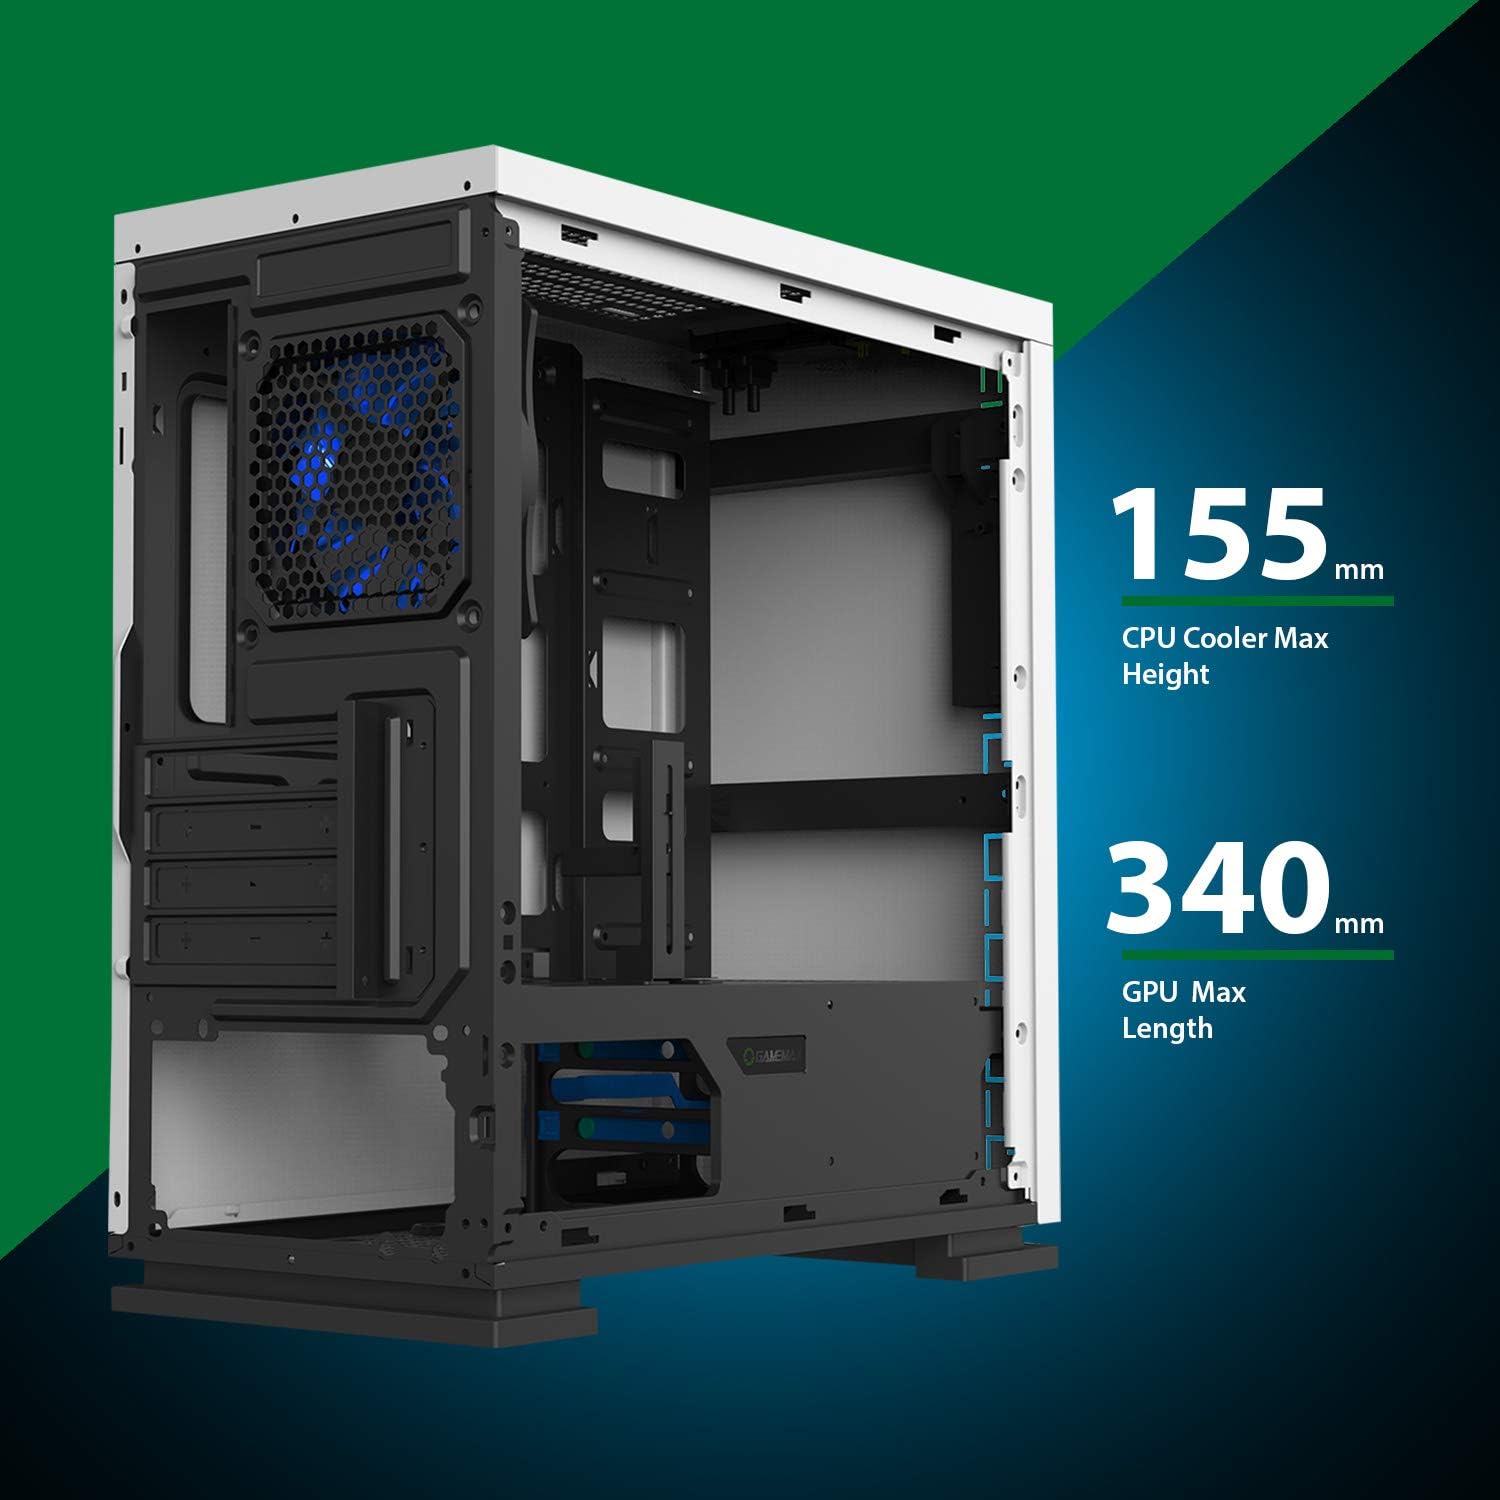
Figure 5.8: Maximum clearance for CPU coolers (155mm) and GPUs (340mm).
6. ترتیب او نصب کول
6.1 چمتو کول
- Unpack the chassis and remove all packaging materials.
- د شا د ګوتو سکرو خلاصولو سره د اړخ تختې لرې کړئ.
- Gather necessary tools: Phillips head screwdriver, cable ties.
6.2 د مادر بورډ نصب کول
- Install the I/O shield into the rear opening of the chassis.
- Align the motherboard with the pre-installed standoffs. Ensure the standoffs match your Micro ATX motherboard's mounting holes.
- د چمتو شوي پیچونو سره مور بورډ خوندي کړئ.
۲.۴ د بریښنا رسولو نصبول
- Place the power supply unit (PSU) into the dedicated compartment at the bottom rear of the case.
- Align the PSU with the screw holes on the rear of the chassis.
- د چمتو شوي پیچونو سره PSU خوندي کړئ.
۴.۴ د ذخیره کولو ډرایو نصب کول
- 2.5" Drives: Mount 2.5" SSDs/HDDs to the dedicated mounting points on the motherboard tray or within the drive cage using the provided screws.
- 3.5" Drives: Install 3.5" HDDs into the drive cage located beneath the PSU shroud. Slide the drive into the tray and secure it.
6.5 Expansion Card (GPU) Installation
- Remove the necessary expansion slot covers from the rear of the chassis.
- Insert your graphics card or other expansion card into the appropriate PCIe slot on the motherboard.
- کارت د سکرو سره خوندي کړئ.
- Utilize the adjustable GPU bracket to provide additional support for heavier graphics cards.
۵.۶ د فین او یخولو نصبول
- The case comes with one 120mm Blue LED fan pre-installed at the rear.
- Additional 120mm fans can be installed at the top and front positions as needed.
- Ensure fans are oriented correctly for optimal airflow (intake or exhaust).
6.7 Front Panel Connector Installation
Connect the front panel cables (USB 3.0, USB 2.0, HD Audio, Power SW, Reset SW, Power LED, HDD LED) to their corresponding headers on your motherboard. Refer to your motherboard manual for exact pin layouts.
7. چلول
Once all components are installed and cables are connected, replace the side panels. Connect your monitor, keyboard, mouse, and power cable. Press the power button on the top panel to start your system. The pre-installed LED fan will illuminate upon power-on.
8. ساتنه
- د دوړو فلټر پاکول: Regularly remove and clean the magnetic dust filter located on the top panel to maintain optimal airflow and prevent dust buildup inside the case.
- عمومي پاکول: یو نرم استعمال کړئ، دamp cloth to clean the exterior surfaces of the case. Avoid abrasive cleaners.
- د داخلي دوړو لرې کول: Periodically use compressed air to clear dust from internal components and fans. Ensure the system is powered off and unplugged before performing internal cleaning.
9. ستونزه حل کول
- سیسټم نه فعالیږي: Check all power connections, including the PSU to the wall outlet, PSU to motherboard, and front panel power switch cable to the motherboard.
- مينه وال چې نه ګرځېږي: Verify fan cables are securely connected to the motherboard or fan controller.
- USB پورټونه کار نه کوي: ډاډ ترلاسه کړئ چې د مخکینۍ پینل USB کیبلونه د مور بورډ د USB سرلیکونو سره په سمه توګه وصل دي.
- د ښودلو محصول نشته: Confirm the graphics card is properly seated and connected to power, and the monitor cable is connected to the graphics card, not the motherboard's integrated graphics port (unless using integrated graphics).
10. مشخصات
| فیچر | مشخصات |
|---|---|
| د ماډل نوم | GMX EXPEDITION |
| برانډ | GAMEMAX |
| د قضیې ډول | Micro Tower (MATX) |
| د مور بورډ مطابقت | مایکرو ATX |
| رنګ | Expedition White |
| مواد | پولی کاربونیټ (PC) |
| د محصول ابعاد (LxWxH) | 14.96 x 7.4 x 13.78 انچه (380 x 188 x 350 mm) |
| د توکي وزن | ۶ پونډه (۳ کیلو ګرامه) |
| د USB 3.0 بندرونه | 1 |
| د USB 2.0 بندرونه | 2 |
| د یخولو طریقه | هوا، اوبه |
| شامل فین | 1 x 120mm Blue LED (Rear) |
| د اعظمي CPU کولر لوړوالی | 155mm |
| اعظمي GPU اوږدوالی | 340mm |
11. تضمین او ملاتړ
For warranty information and technical support, please visit the official GameMax webسایټ ته مراجعه وکړئ یا خپل محلي پرچون پلورونکي سره اړیکه ونیسئ.
رسمي Webسایټ: gamemaxpc.com


