1. پیژندنه
This manual provides detailed instructions for the setup, operation, maintenance, and troubleshooting of your HP Sprocket Studio Plus 4x6 Instant Photo Printer. Please read this manual thoroughly before using the device to ensure optimal performance and longevity.
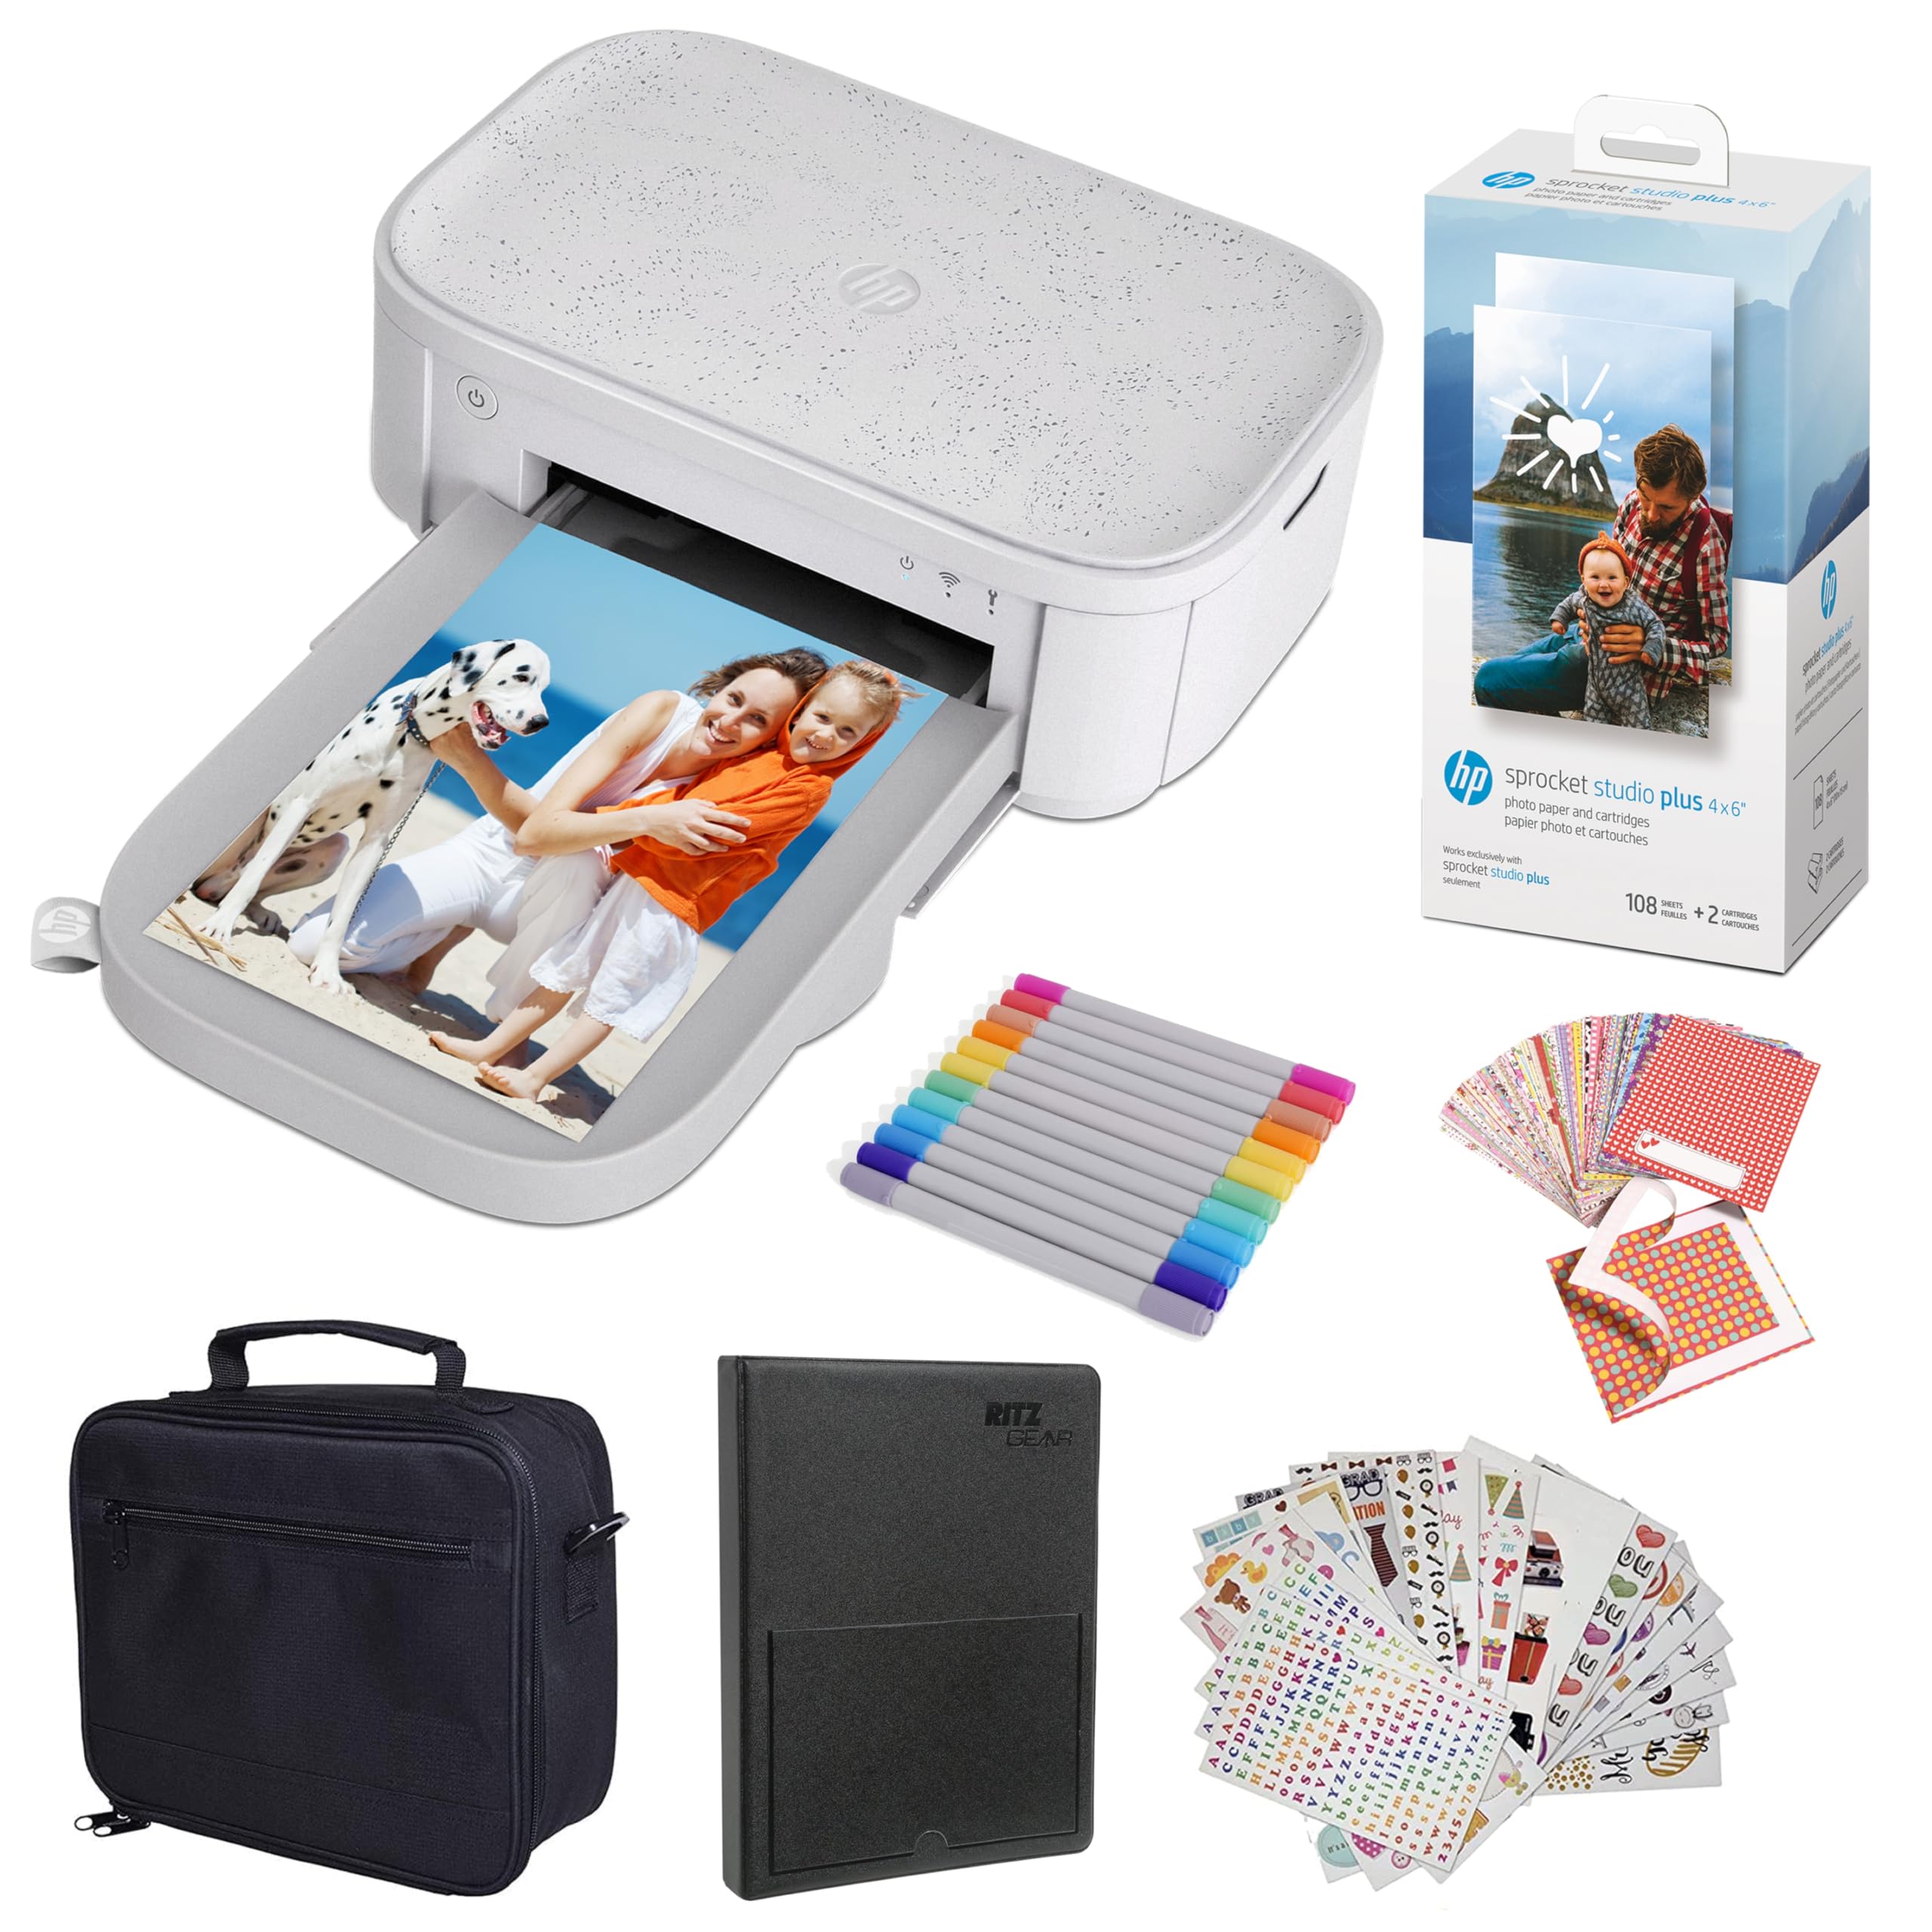
Image: The HP Sprocket Studio Plus 4x6 Instant Photo Printer, shown in white, with a smartphone displaying an image and a printed photo emerging from the printer.
۲. په بکس کې څه دي؟
ډاډ ترلاسه کړئ چې ټول توکي په کڅوړه کې شتون لري:
- HP Sprocket Studio Plus 4x6 Instant Photo Printer
- عکس البوم
- قضیه
- Photo paper and cartridges
- مارکرونه
- Sticker sets
- د بریښنا اډاپټر

Image: A pack of HP Sprocket Studio Plus 4x6 photo paper and two ink cartridges, ready for installation.
3. د تنظیم کولو لارښود
3.1 ابتدايي پاور آن
- د بریښنا اډاپټر د پرنټر او بریښنا سایټ سره وصل کړئ.
- Press and hold the power button on the printer to turn it on.
- Wait for the indicator lights to stabilize, indicating the printer is ready.
3.2 Loading Photo Paper and Cartridge
- د کاغذ ټری پوښ خلاص کړئ.
- Insert the photo paper stack into the tray, glossy side up. Ensure the paper is aligned correctly.
- Open the cartridge compartment.
- Insert the ink cartridge until it clicks into place.
- دواړه پوښونه په خوندي توګه وتړئ.

انځور: نږدې انځور view demonstrating the correct way to insert the ink cartridge (1) and load photo paper (2) into the HP Sprocket Studio Plus printer.
3.3 Installing the HP Sprocket App
The HP Sprocket app is required to operate your printer. Download it from your device's app store (iOS or Android).
- د iOS وسیلو لپاره: لټون "HP Sprocket" in the Apple App Store.
- د Android وسیلو لپاره: لټون "HP Sprocket" in the Google Play Store.
- Install the app and follow the on-screen prompts.
3.4 Connecting Your Printer
Your HP Sprocket Studio Plus printer can connect via Wi-Fi or Hotspot mode. Refer to the video below for a visual guide on connecting your printer.
Video: This video demonstrates how to connect the HP Sprocket Studio Plus printer to your mobile device via Wi-Fi and Hotspot mode using the HP Sprocket app. It covers turning on the printer, navigating the app's printer management settings, and entering Wi-Fi credentials or the default hotspot password.
3.4.1 د وای فای اتصال
- ډاډ ترلاسه کړئ چې ستاسو پرنټر فعال دی.
- Open the HP Sprocket app on your mobile device.
- Navigate to the main menu (usually a hamburger icon).
- Select "Manage Printers".
- Tap "Add New Printer".
- Select your printer from the list of available printers (e.g., "HP Sprocket Studio Plus OB78").
- The app will prompt you to connect the printer to your Wi-Fi network. Enter your Wi-Fi credentials (network name and password).
- Confirm the setup is complete.
3.4.2 Hotspot Mode Connection
Use Hotspot Mode if a Wi-Fi network is not available or for direct connection.
- ډاډ ترلاسه کړئ چې ستاسو پرنټر فعال دی.
- Open the HP Sprocket app on your mobile device.
- اصلي مینو ته لاړ شئ.
- Select "Manage Printers".
- Tap "Add New Printer".
- Select your printer from the list.
- When prompted to connect to Wi-Fi, select "No network available" or similar option to initiate Hotspot Mode.
- Go to your mobile device's Wi-Fi settings.
- Select the printer's direct Wi-Fi network (e.g., "DIRECT-6C-HPISPS").
- ډیفالټ پاسورډ دننه کړئ: 12345678.
- Return to the HP Sprocket app and confirm the connection.
4. Operating Your Printer
۵.۲ د عکسونو چاپول
- Open the HP Sprocket app.
- Select the photo(s) you wish to print from your gallery or social media accounts.
- Use the in-app editing tools to customize your photos (see section 4.2).
- د چاپ آیکون ټایپ کړئ.
- Confirm print settings (e.g., number of copies).
- The printer will begin printing your photo(s).

Image: A smartphone screen showing the HP Sprocket app interface with a photo selected for printing, next to the HP Sprocket Studio Plus printer.
4.2 Customization Features
The HP Sprocket app offers various tools to enhance your photos before printing:
- فلټرونه: په خپلو عکسونو کې مختلف بصري اغیزې پلي کړئ.
- چوکاټونه: Add decorative borders around your images.
- سټیکر: Place digital stickers on your photos for a personalized touch.
- Collages: Combine multiple photos into a single print.
- Photo IDs: Create passport-style photos.

Image: The HP Sprocket app displaying a collage feature, allowing users to arrange multiple photos into a single layout for printing.

Image: The HP Sprocket app interface showing options for creating photo IDs, with a portrait photo displayed on the screen.
۵.۳ د څو کاروونکو ملاتړ
Multiple users can connect to the HP Sprocket Studio Plus printer simultaneously, allowing for shared printing experiences.
5. ساتنه
5.1 Replacing Ink Cartridges and Photo Paper
The HP Sprocket Studio Plus uses dye-sublimation technology, requiring specific photo paper and cartridges. It is recommended to replace both the paper and cartridge at the same time, as they are designed to run out concurrently (approximately 108 sheets per cartridge).
- When the printer indicates low ink or paper, open the paper tray and cartridge compartment.
- Remove the used ink cartridge and empty paper stack.
- Insert a new HP Sprocket Studio Plus ink cartridge and a fresh stack of 4x6 photo paper.
- پوښونه په خوندي ډول وتړئ.

Image: A package of HP Sprocket Studio Plus 4x6 photo paper and cartridges, indicating it includes 108 sheets and 2 cartridges.
5.2 د پرنټر پاکول
To maintain print quality, periodically clean the exterior of the printer with a soft, dry cloth. Avoid using liquid cleaners directly on the printer.
6. ستونزه حل کول
6.1 عام مسایل او حلونه
- Printer Not Connecting to Wi-Fi:
- Ensure your Wi-Fi network is 2.4GHz, as the printer may not be compatible with 5GHz networks.
- تایید کړئ چې د وای فای پټنوم په سمه توګه داخل شوی دی.
- Restart both your printer and mobile device.
- Try connecting using Hotspot Mode as an alternative.
- د کاغذ جامونه:
- Turn off the printer and carefully open the paper tray.
- Gently remove any jammed paper. Do not force it.
- ډاډ ترلاسه کړئ چې کاغذ په سمه توګه بار شوی او ډیر نه ډک شوی.
- چاپګر بیا پیل کړئ.
- د چاپ خراب کیفیت:
- Check if the ink cartridge and photo paper are correctly installed and not expired.
- Ensure you are using genuine HP Sprocket Studio Plus photo paper and cartridges.
- Clean the printer as described in the maintenance section.
- چاپګر ځواب نه ورکوي:
- ډاډ ترلاسه کړئ چې پرنټر فعال دی او د بریښنا سرچینې سره وصل دی.
- چاپګر بیا پیل کړئ.
- Check the app for any error messages or connection issues.
7. مشخصات
| فیچر | مشخصات |
|---|---|
| د محصول ابعاد | ۱۶"د x ۲۶"وچ x ۴۷"ح |
| د کنټرولر ډول | اندروید، iOS |
| د رسنیو اعظمي اندازه | ۴x۶ انچه |
| چاپي رسنۍ | ځلیدونکی عکس کاغذ |
| د اعظمي داخل شیټ ظرفیت | 80 پاڼې |
| مطابقت لرونکې وسیلې | سمارټ فونونه |
| د رنګ چاپ اعظمي ریزولوشن | [لوړ] |
| د تور او سپین چاپ اعظمي ریزولوشن | 1200 dpi |
| دوه اړخیزه چاپ | نه |
| هډوتري برسیر | بلوتوث |
| د رنګ رنګ | بشپړ رنګ |
| د کنټرول طریقه | اپلیکیشن |
| ماډل لړۍ | Sprocket Studio Plus |
| د چاپګر رنګ ډول | د رنګ رنګ کارتوس |
| د توکي وزن | ۲.۴۵ پونډه |
| د ارتباط ټیکنالوژي | بلوتوث |
| د چاپ ټیکنالوژي | رنګ Sublimation |
| ځانګړی ځانګړنه | Network-Ready, Portable |
| رنګ | سپین |
| د چاپ اعظمي سرعت (رنګ) | 1 ppm |
8. تضمین او ملاتړ
8.1 د تضمین معلومات
The HP Sprocket Studio Plus 4x6 Instant Photo Printer comes with a د 1 کلن محدود تضمین. د ځانګړو شرایطو او مقرراتو لپاره، مهرباني وکړئ د تضمین اسنادو ته مراجعه وکړئ چې ستاسو د محصول سره شامل دي یا د HP رسمي ملاتړ ته مراجعه وکړئ. webسایټ
8.2 د پیرودونکي ملاتړ
For further assistance, technical support, or to purchase replacement supplies, please visit the official HP support website or contact HP customer service. You can find contact information on the HP webسایټ یا ستاسو د محصول بسته بندۍ کې.
- د HP ملاتړ Webسایټ: www.hp.com/support