پیژندنه
This manual provides comprehensive instructions for the installation, operation, and maintenance of your Natec Cabassu G2 Midi Tower PC Case. Please read this manual thoroughly before beginning installation to ensure proper setup and optimal performance.
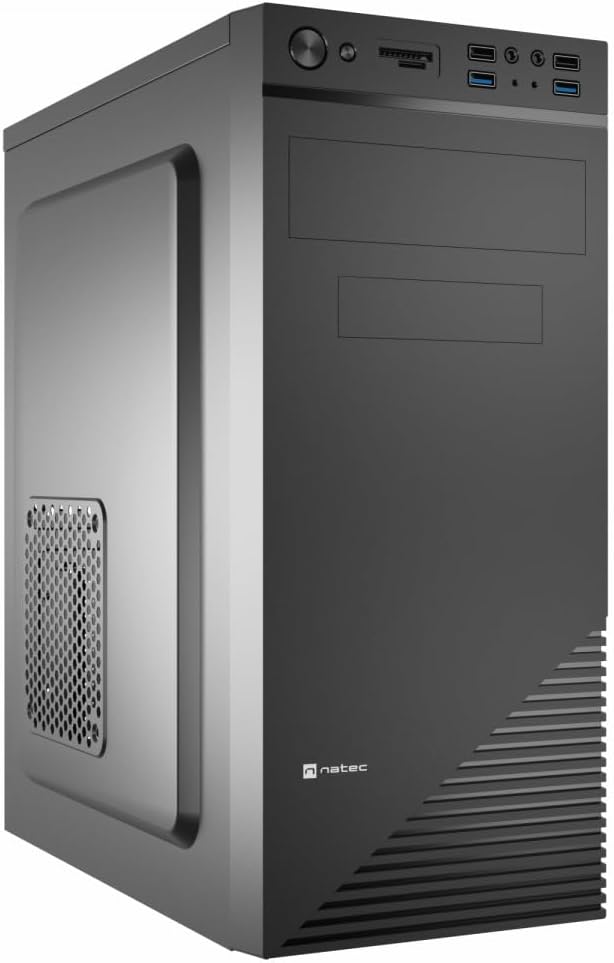
Figure 1: Natec Cabassu G2 Midi Tower PC Case. This image shows the front and left side of the black PC case, highlighting its sleek design and front panel layout.
د خوندیتوب معلومات
- تل د هر ډول اجزاو نصبولو یا لرې کولو دمخه د دیوال له سایټ څخه د بریښنا رسولو قطع کړئ.
- Handle components with care to prevent damage from static electricity.
- Keep the case away from water, moisture, and extreme temperatures.
- د ډیر تودوخې مخنیوي لپاره مناسب هوا ورکول ډاډمن کړئ.
- Do not attempt to open the power supply unit.
د بسته محتويات
ډاډ ترلاسه کړئ چې ټول توکي په کڅوړه کې شتون لري:
- Natec Cabassu G2 Midi Tower PC Case
- د لوازمو کټ (سکرو، سټینډ آف، کیبل اړیکې)
- د کارونکي لارښود (دا لاسوند)
د اجزاو تنظیم او نصب کول
۱. د قضیې چمتو کول
- قضیه په یوه فلیټ او مستحکم سطحه کېږدئ.
- Remove the side panels by unscrewing the thumbscrews at the rear and sliding the panels backward.

شکل 2: داخلي view of the Natec Cabassu G2 case with the side panel removed, illustrating the internal layout for component installation.
2. د مور بورډ نصب کول
- د I/O شیلډ د قضیې په شا خلاصیدو کې نصب کړئ.
- Align the motherboard with the pre-installed standoffs. The Cabassu G2 supports Mini ITX, Micro ATX, and ATX motherboards.
- د چمتو شوي پیچونو سره مور بورډ خوندي کړئ.
3. د بریښنا رسولو نصب کول
- د بریښنا رسولو د قضیې په ښکته برخه کې نصب کیږي.
- Slide the power supply into its designated bay from the rear of the case.
- Secure it with screws from the rear.
۴. د ذخیره کولو ډرایو نصب کول
- 2.5" Drives (SSDs/HDDs): The case features 3 x 2.5" drive bays. Mount drives using the provided screws in the designated locations.
- 3.5" Drives (HDDs): The case also supports 3.5" drives.
۲.۵. د توسعې کارت نصبول
- Remove the necessary expansion slot covers from the rear of the case (7 expansion slots available).
- خپل ګرافیک کارت یا نور توسیع کارتونه د مدر بورډ PCIe سلاټونو کې دننه کړئ.
- کارتونه د پیچونو سره خوندي کړئ.

شکل 3: شاته view of the Natec Cabassu G2 case, detailing the I/O shield cutout, power supply opening, and seven expansion slots.
6. د کیبل مدیریت
Route cables behind the motherboard tray where possible to improve airflow and aesthetics. Use the included cable ties to secure bundles.
۷. د مخکینۍ پینل کیبلونو نښلول
Connect the front panel cables (USB 2.0, USB 3.0, audio, power switch, reset switch, HDD LED, power LED) to the corresponding headers on your motherboard. Refer to your motherboard manual for exact pin assignments.

Figure 4: Close-up of the Natec Cabassu G2 front panel, showing 2x USB 2.0 ports, 2x USB 3.0 ports, audio jacks, and power/reset buttons.
عملیاتي لارښوونې
بریښنا کول / بند کول
- پاور آن: د بریښنا تڼۍ فشار ورکړئ چې په مخکینۍ پینل کې موقعیت لري.
- بندول: Initiate shutdown through your operating system. For a forced shutdown, press and hold the power button for several seconds.
- بیا تنظیمول: Press the reset button on the front panel to restart the system.
Using Front Panel Ports
The front panel provides convenient access to:
- 2 x USB 2.0 بندرونه
- 2 x USB 3.0 بندرونه
- Audio input (microphone) and output (headphone) jacks
Connect compatible devices to these ports as needed.
ساتنه
پاکول
- په منظم ډول د قضیې بهرنۍ برخه د نرم، ډamp ټوکر د کثافاتو پاکونکو څخه ډډه وکړئ.
- Use compressed air to remove dust from fan filters and internal components. Ensure the system is powered off and unplugged before cleaning.
د دوړو فلټرونه
The case may include removable dust filters. Periodically remove and clean these filters to maintain optimal airflow and cooling performance.
د ستونزو حل کول
| ستونزه | احتمالي لامل | د حل لاره |
|---|---|---|
| سیسټم فعال نه دی. | Power cables not connected properly. Faulty power supply. | Check all power connections (motherboard, CPU, GPU, power supply to wall). Ensure power supply switch is ON. |
| د مخکینۍ پینل USB پورټونه کار نه کوي. | Front panel USB cables not connected to motherboard. | Verify that the USB 2.0 and USB 3.0 headers are correctly connected to the motherboard. |
| Excessive fan noise. | Dust accumulation. Loose fan. | Clean dust from fans and filters. Ensure all fans are securely mounted. |
مشخصات
| فیچر | تفصیل |
|---|---|
| د ماډل نوم | Cabassu G2 |
| د توکي ماډل شمیره | S5624687 |
| د قضیې ډول | میډی ټاور |
| ابعاد (LxWxH) | 19.69 x 19.69 x 11.02 انچه (50 x 50 x 28 سانتي متره) |
| وزن | ۶ پونډه (۳ کیلو ګرامه) |
| مواد | اکریلونیټریل بوټاډین سټیرین (ABS)، د الیاژ فولاد |
| د مور بورډ مطابقت | مینی ITX، مایکرو ATX، ATX |
| ۵.۲۵ انچه ډرایو بېز | 3 |
| د توسعې سلاټونه | 7 |
| سامنے I / O بندرونه | 2 x USB 2.0, 2 x USB 3.0, Audio In/Out |
| د فین ملاتړ | 120mm (rear, pre-installed if applicable) |
| د یخولو طریقه | هوا |
| د بریښنا رسولو نصب کول | لاندې غر |
د تضمین معلومات
Natec products are covered by a manufacturer's warranty. Specific warranty terms and conditions may vary by region and retailer. Please refer to the warranty card included with your product or visit the official Natec website for detailed information regarding warranty coverage and claims.
ملاتړ
For technical assistance, troubleshooting, or further inquiries, please visit the official Natec support webویب پاڼه یا د دوی د پیرودونکو خدماتو څانګې سره اړیکه ونیسئ. د اړیکو معلومات معمولا د محصول په بسته بندۍ یا رسمي برانډ کې موندل کیدی شي webسایټ
Webسایټ: www.natec-zone.com (بېلګهample لینک، اصلي لینک ممکن توپیر ولري)


