1. پیژندنه
This manual provides essential instructions for the installation, operation, and maintenance of your HIKVISION iDS-7104HQHI-M1/S 4-Channel H.265 AcuSense DVR. This Digital Video Recorder is designed for surveillance systems, offering advanced features such as H.265 Pro+/H.265 Pro/H.265 video compression, deep learning-based perimeter protection, and audio over coaxial cable support. Please read this manual thoroughly before using the device to ensure proper and safe operation.
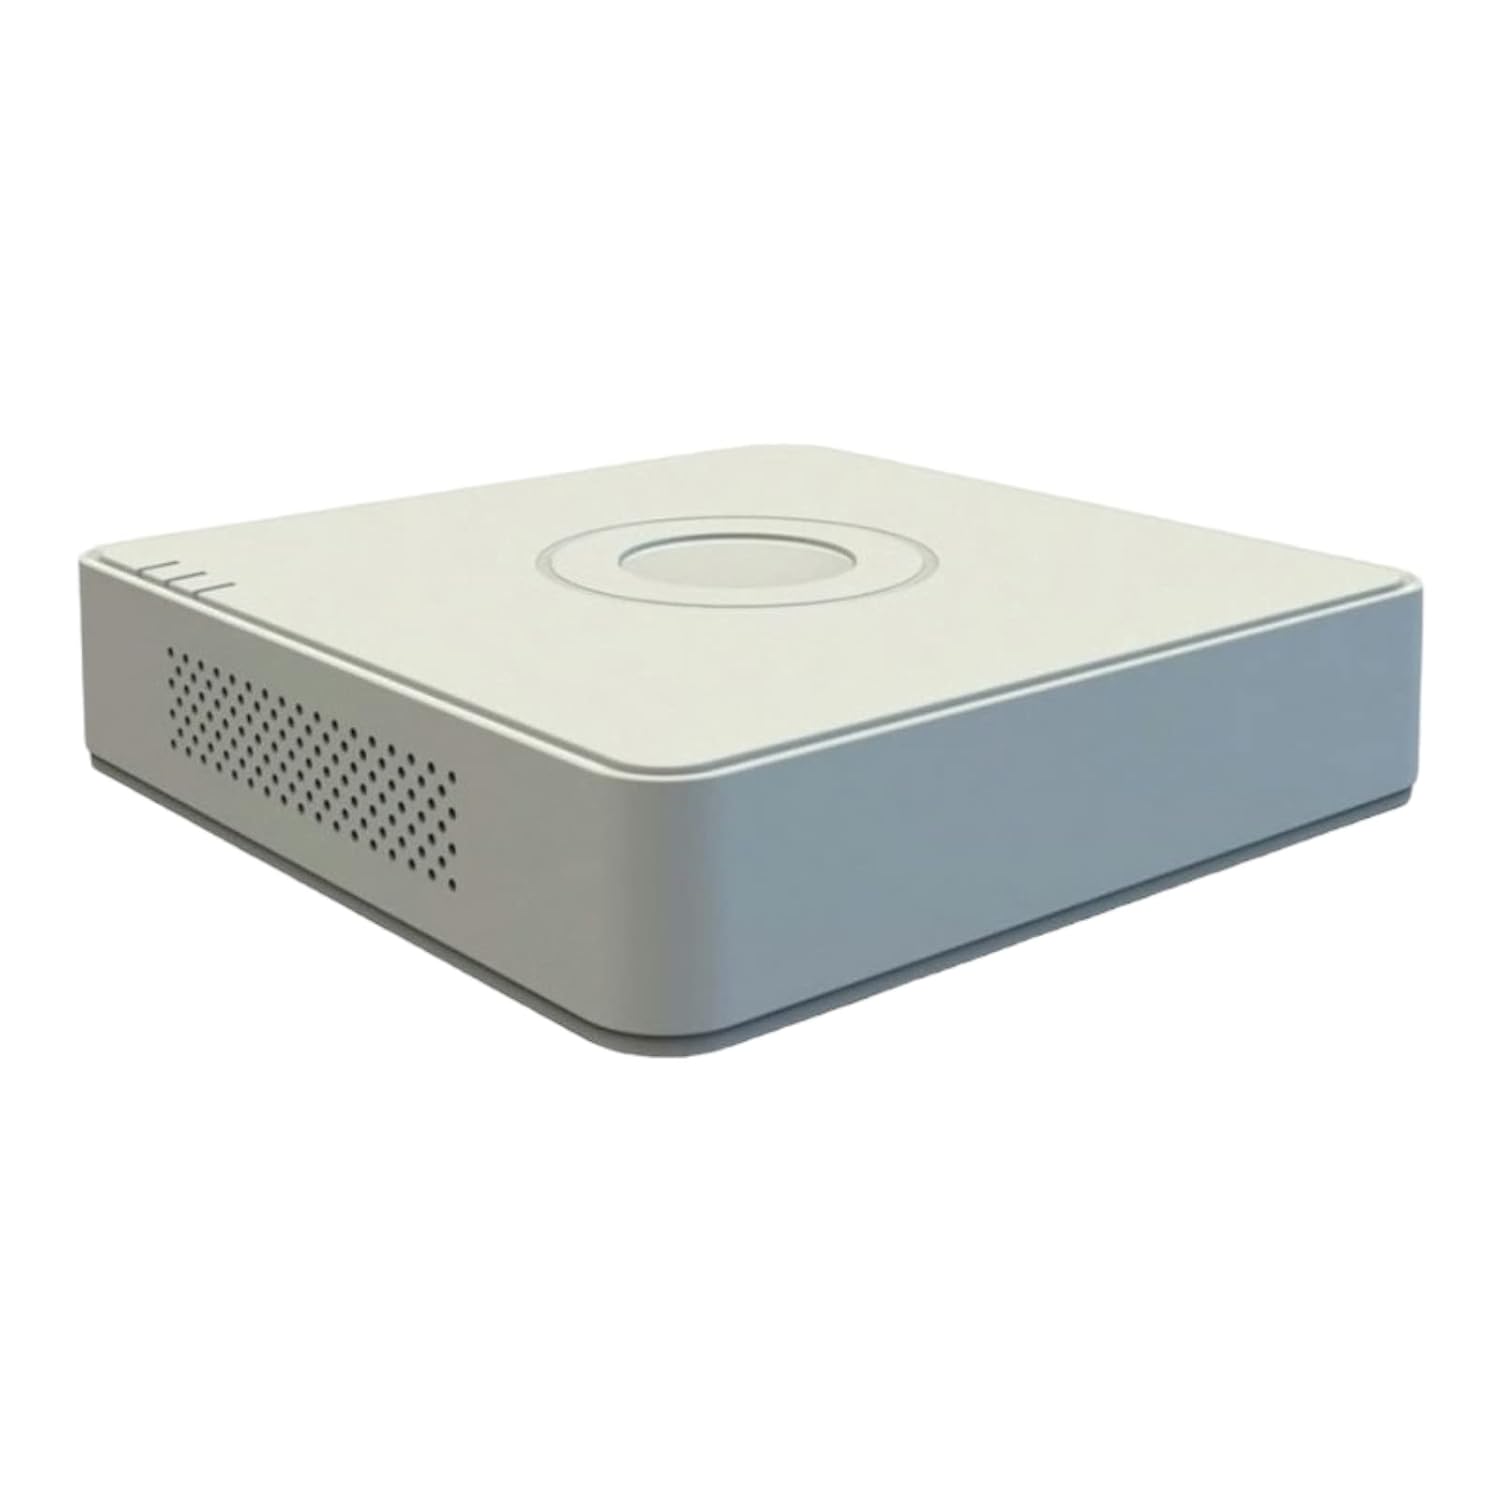
شکل 1.1: مخکی view of the HIKVISION iDS-7104HQHI-M1/S DVR main unit.
2. د بسته محتويات
ډاډ ترلاسه کړئ چې لاندې ټول توکي ستاسو په بسته کې شامل دي. که کوم توکي ورک یا زیانمن شوي وي، سمدلاسه خپل عرضه کونکي سره اړیکه ونیسئ.
- Main DVR Unit (iDS-7104HQHI-M1/S)
- د بریښنا اډاپټر
- HDMI کیبل
- موږک
- د هارډ ډرایو نصبولو لپاره پیچونه
- د چټک پیل لارښود

Figure 2.1: The HIKVISION DVR unit shown with its included HDMI cable and other accessories.
3. محصول ختم شوview
3.1 مخکښ پینل
The front panel typically includes status indicators for power, hard drive activity, and network connection. Specific models may also feature USB ports for mouse or USB drive connection.
3.2 شاته پینل
The rear panel houses all essential connection ports for your surveillance system.

شکل 3.1: پایview of the HIKVISION DVR, highlighting the front and rear panels with various input/output ports.
- Video Input (BNC): Connect CCTV cameras. This model supports 4 channels.
- Audio Input/Output (RCA): For audio recording and playback. This DVR supports audio over coaxial cable.
- د HDMI محصول: Connect to a monitor or TV for high-definition video display.
- د VGA وتنه: Connect to a monitor for standard video display.
- د LAN پورټ (RJ45): Connect to your network for remote access and internet connectivity.
- USB پورټونه: For connecting a mouse, USB flash drive for backup, or external storage.
- د بریښنا ان پټ (DC 12V): Connect the included power adaptor.
۴. د تنظیم لارښوونې
۳.۲ د هارډ ډرایو نصبول (اختیاري)
که چیرې هارډ ډرایو مخکې له مخکې نصب شوی نه وي، نو دا ګامونه تعقیب کړئ:
- د DVR پورتنۍ پوښ خلاص کړئ او لرې کړئ.
- Connect the SATA data cable and power cable from the DVR to the hard drive.
- Secure the hard drive to the DVR chassis using the provided screws.
- پورتنی پوښ بدل کړئ او د پیچونو سره یې خوندي کړئ.
۵.۲ د DVR سره نښلول
- کیمرې وصل کړئ: Attach your CCTV cameras to the BNC video input ports on the rear panel. Ensure secure connections. This model supports audio transmission via coaxial cable for compatible cameras.
- مانیټر وصل کړئ: Use the HDMI cable (included) or a VGA cable to connect the DVR to a monitor or TV.
- موږک وصل کړئ: د USB موږک په DVR کې په USB پورټ کې ولګوئ.
- د شبکې سره وصل کړئ (اختیاري): د لرې پرتو لپاره viewing and network features, connect an Ethernet cable from the LAN port on the DVR to your router or network switch.
- بریښنا وصل کړئ: Plug the power adaptor into the DC 12V power input on the DVR, then plug the adaptor into a power outlet. The DVR will power on automatically.

Figure 4.1: The AcuSense feature supports audio transmission directly over coaxial cables, simplifying wiring for compatible cameras.
5. عملیاتي لارښوونې
5.1 ابتدايي ترتیب
Upon first power-up, the DVR will guide you through an initial setup wizard. This includes setting the language, date and time, network settings, and creating a strong administrator password. It is crucial to set a strong password for security.
5.2 ژوندی View
د لومړني تنظیم وروسته، DVR به ژوندۍ ښکاره کړي view of all connected cameras on the monitor. You can switch between single-camera view او څو کیمرې گرډ view using the on-screen interface controlled by the mouse.
5.3 ثبتول
Access the 'Record' menu to configure recording settings. You can set continuous recording, motion-detection recording, or scheduled recording for each channel. Ensure your hard drive is formatted and recognized by the DVR.
5.4 پلې بیک
بیا بیاview ثبت شوی footage, navigate to the 'Playback' menu. Select the desired camera channel, date, and time. You can use the timeline to navigate through recordings and export clips to a USB drive if needed.
۶.۴ ریموټ لاسرسی (هیک-کنیک)
د لرې پرتو لپاره viewing on mobile devices or computers, download the Hik-Connect app from the App Store or Google Play. Register an account, add your DVR by scanning the QR code or entering its serial number, and follow the app's instructions to configure remote access. Ensure the DVR is connected to the internet.

Figure 5.1: The Hik-Connect mobile application allows remote monitoring and management of your DVR system.
6. ساتنه
- پاکول: Regularly clean the DVR's exterior with a soft, dry cloth. Ensure ventilation openings are free from dust to prevent overheating. Do not use liquid cleaners directly on the device.
- د فرم ویئر تازه معلومات: Periodically check the official HIKVISION website for firmware updates. Keeping your DVR's firmware updated ensures optimal performance, security, and access to new features.
- د معلوماتو بیک اپ: په منظم ډول د مهمو ثبت شویو فوټو بیک اپ واخلئtage د بهرني ذخیره کولو وسیلې ته (د مثال په توګه، USB ډرایو) د معلوماتو د ضایع کیدو مخنیوي لپاره.
- د پټنوم مدیریت: Change your administrator password periodically and ensure it is strong and unique.
7. ستونزه حل کول
- هیڅ ویډیو سیګنال نشته:
- Check all camera connections to the DVR.
- Verify the monitor connection (HDMI/VGA) and ensure the monitor is on the correct input source.
- Ensure cameras are powered correctly.
- نه ثبتول:
- Check if a hard drive is installed and properly connected.
- Ensure the hard drive is formatted within the DVR's settings.
- Verify recording schedules and settings are correctly configured.
- د شبکې د اتصال ستونزې:
- Ensure the Ethernet cable is securely connected to both the DVR and the router.
- خپل روټر او انټرنیټ اتصال چیک کړئ.
- Verify network settings in the DVR's configuration menu.
- خپل پټ نوم درڅخه هیر دی: If you forget your DVR's administrator password, contact HIKVISION technical support for assistance. Password recovery may require specific procedures or a factory reset, which could result in data loss.
8. تخنیکي مشخصات
| فیچر | مشخصات |
|---|---|
| د ماډل شمیره | iDS-7104HQHI-M1/S |
| د ویډیو کمپریشن | H.265 Pro+/H.265 Pro/H.265 |
| د ویډیو داخلول | 4 چینلونه |
| آډیو ان پټ | Audio via coaxial cable supported |
| د ویډیو تولید | HDMI ، VGA |
| د پیرامیټر محافظت | Deep learning-based AcuSense |
| ابعاد (LxWxH) | 20 x 4.5 x 20 سانتي متره |
| وزن | 1 کیلو ګرامه |
| د اصلي هیواد | چین |
9. تضمین او ملاتړ
Your HIKVISION iDS-7104HQHI-M1/S DVR comes with a standard manufacturer's warranty. Please refer to the warranty card included with your product or visit the official HIKVISION webد تضمین د تفصيلي شرایطو او مقرراتو لپاره سایټ.
For technical assistance, troubleshooting, or warranty claims, please contact HIKVISION customer support. Ensure you have your product model number and serial number ready when contacting support.
HIKVISION Support: Please visit the official HIKVISION website for regional contact information and support resources.


