1. پیژندنه
This instruction manual provides essential information for the safe and effective operation of your Mastech MS2000G Digital Clamp Meter. Please read this manual thoroughly before use and retain it for future reference. This device is designed for measuring AC current, AC/DC voltage, resistance, continuity, diode, frequency, and temperature in various electrical applications.
2. د خوندیتوب معلومات
WARNING: To avoid electric shock or personal injury, always follow these safety precautions.
- Always disconnect measuring leads before removing the battery cover.
- د والیت غوښتنه مه کوئtage یا هغه جریان چې د میټر لپاره له ټاکل شوي اعظمي حد څخه تیریږي.
- Ensure the rotary switch is in the correct position for the desired measurement before connecting to the circuit.
- Inspect test leads for damaged insulation or exposed metal before each use. Replace if damaged.
- که چیرې میټر خراب ښکاري یا قضیه خلاصه وي نو مه یې کاروئ.
- The Mastech MS2000G is rated for CAT II 1000V and CAT III 600V. Adhere to these category ratings for safe operation.
- د ژوندیو سرکټونو سره د کار کولو پر مهال خورا احتیاط وکړئ.
For detailed safety guidelines, refer to relevant electrical safety standards.
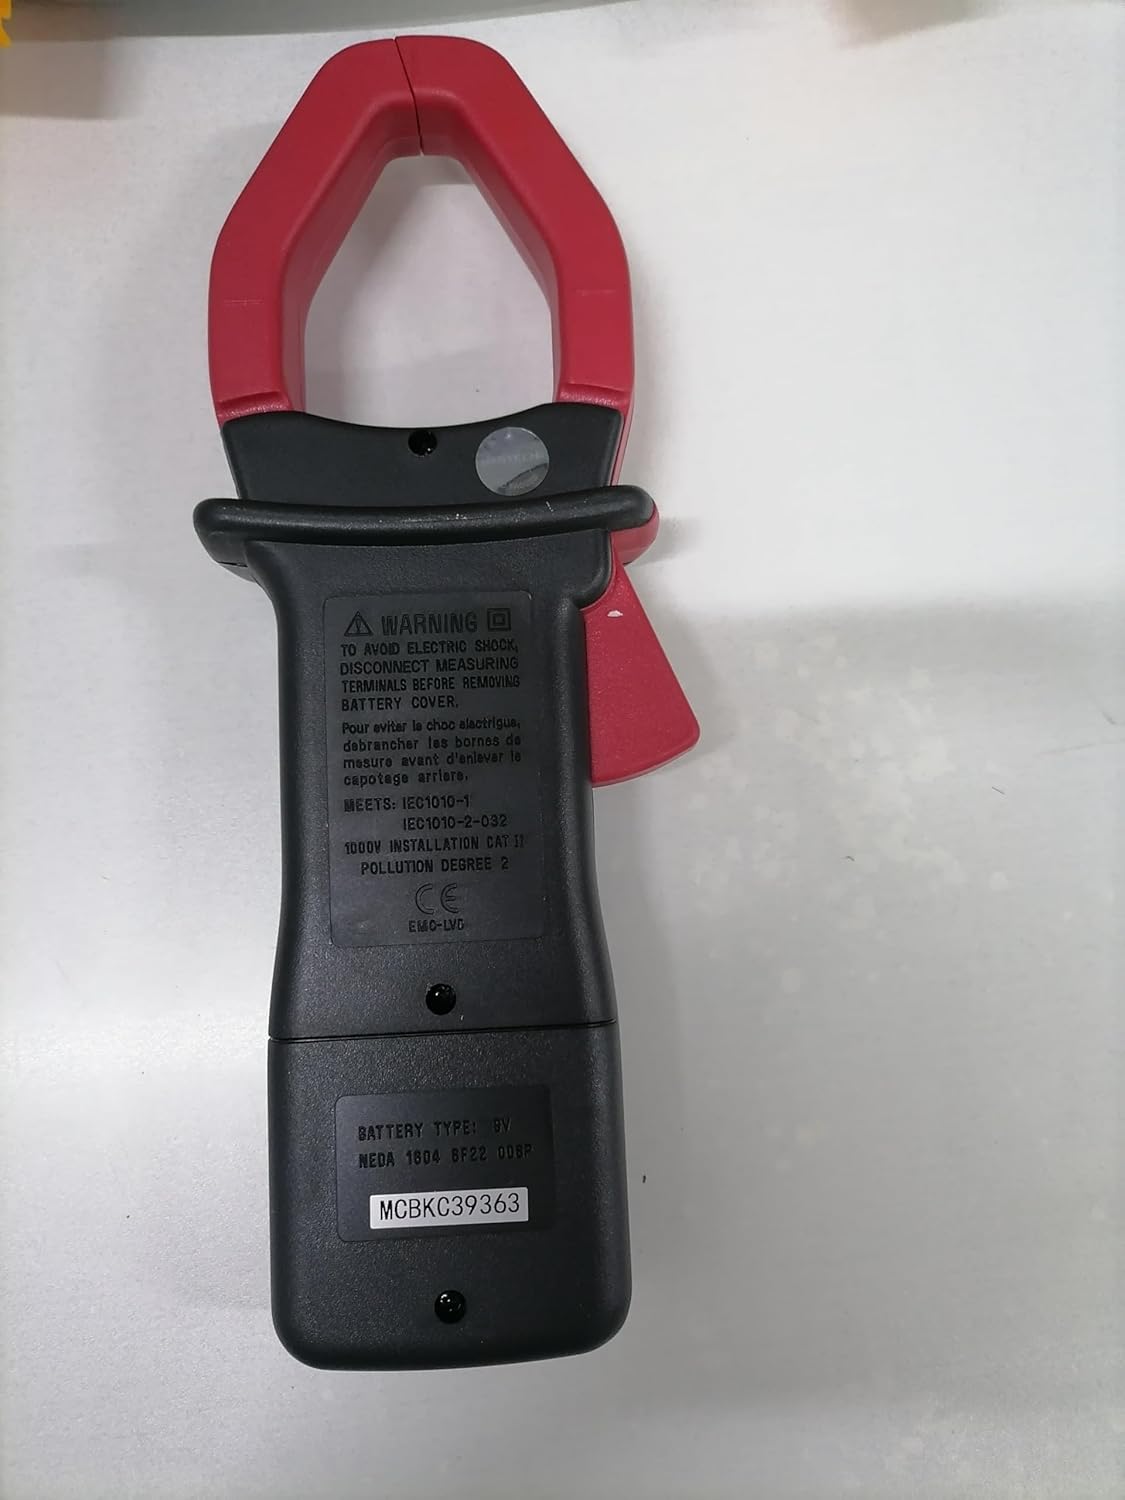
شاته view of the Mastech MS2000G Digital Clamp Meter, showing the battery compartment and safety warnings, including instructions to disconnect leads before opening.
3. د محصول ب Featuresې
- 2000 Counts Digital Display
- Jaw Opening: 55mm (2.2 inches)
- ډایډ خلاص والیومtage: 3.0V
- Continuity Buzzer: Activates below 30Ω
- د ډاټا نیول فنکشن
- Display Backlight for low-light conditions
- Low Battery Display Indicator
4. محصول ختم شوview
The Mastech MS2000G features a robust design for professional and home use. Key components include:
- Clamp ژامې: د غیر تماس لرونکي AC جریان اندازه کولو لپاره کارول کیږي.
- روټري سویچ: Selects measurement functions (AC Current, Voltage, Resistance, etc.).
- د LCD نندارې: د اندازه کولو لوستل، واحدونه، او شاخصونه ښیې.
- داخله جیکونه: د حجم لپاره د ازموینې لیډونو سره وصل کولو لپارهtage, resistance, continuity, diode, frequency, and temperature measurements.
- د معلوماتو د ساتلو تڼۍ: په ښودنه کې اوسنی لوستل کنګل کوي.
- د شاته رڼا تڼۍ: د غوره لید لپاره نندارتون روښانه کوي.

مخکی view of the Mastech MS2000G Digital Clamp Meter, highlighting the display, rotary switch, and clamp ژامه
5. ترتیب کول
5.1 د بیټرۍ نصب کول
- Ensure the meter is turned OFF and all test leads are disconnected.
- د میټر په شا کې د بیټرۍ د برخې پوښ ومومئ.
- د بیټرۍ پوښ خوندي کولو لپاره د سکرو ډرایور څخه کار واخلئ.
- پوښ لرې کړئ.
- یو نوی 9V بیټرۍ دننه کړئ، د سم قطبیت (+ او -) مشاهده وکړئ.
- د بیټرۍ پوښ بدل کړئ او د سکرو سره یې خوندي کړئ.
۶.۲ د ټیسټ لیډونو نښلول
For measurements requiring test leads (voltage, resistance, continuity, diode, frequency, temperature):
- Insert the red test lead into the VHzΩ input jack.
- د تور ټیسټ لیډ د COM ان پټ جیک کې دننه کړئ.
- For temperature measurements, connect the K-type thermocouple to the designated input terminals, observing polarity.
6. عملیاتي لارښوونې
To operate the Mastech MS2000G, turn the rotary switch to the desired function. The display will show the measurement reading.
۴.۲ د AC جریان اندازه کول
- Turn the rotary switch to the 'A' (AC Current) range.
- cl خلاص کړئamp د ټریګر په فشارولو سره ژامه.
- Encircle only one conductor of the circuit with the clamp ژامه. ډاډ ترلاسه کړئ چې ژامه په بشپړه توګه تړل شوې ده.
- په ښودنه کې د AC اوسني ارزښت ولولئ.
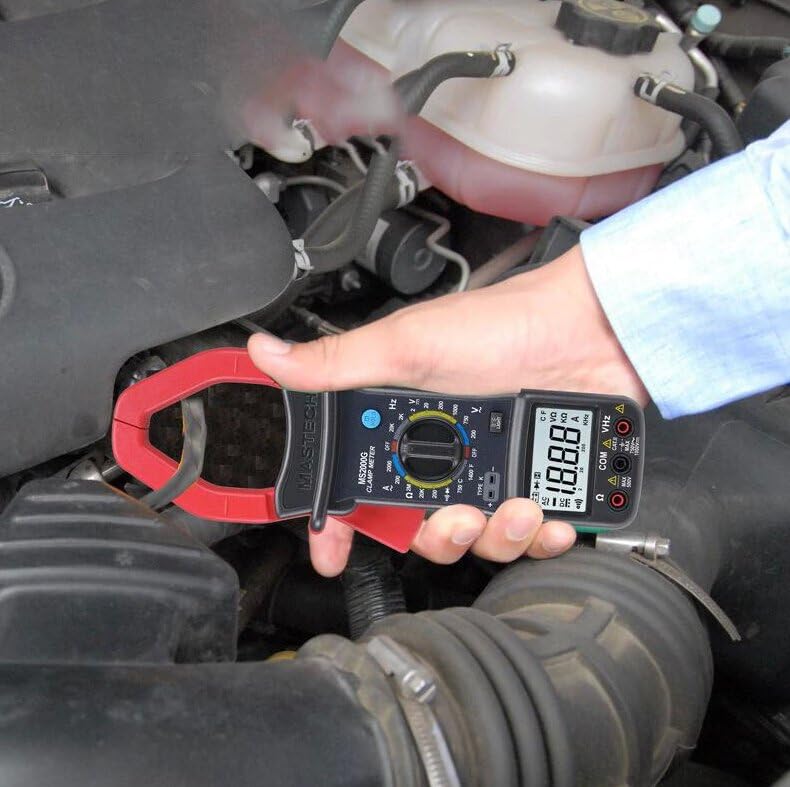
Demonstration of the Mastech MS2000G measuring AC current around a single conductor.
6.2 AC/DC Voltage اندازه کول
- د ازموینې لیډونه وصل کړئ لکه څنګه چې په 5.2 برخه کې تشریح شوي.
- د روټري سویچ 'V~' ته واړوئ (AC Voltage) یا 'V=' (DC Voltage) حد.
- د ازموینې پروبونه د ازموینې لاندې سرکټ یا برخې سره موازي سره وصل کړئ.
- ټوک ولولئtage ارزښت په نندارتون کې.
6.3 د مقاومت اندازه کول
- Connect the test leads.
- Turn the rotary switch to the 'Ω' (Resistance) range.
- د پروبونو سره د نښلولو دمخه ډاډ ترلاسه کړئ چې سرکټ یا برخه غیر انرژي شوې ده.
- د ازموینې پروبونه د برخې په اوږدو کې وصل کړئ.
- په ښودنه کې د مقاومت ارزښت ولولئ.
6.4 د دوام ازموینه
- Connect the test leads.
- Turn the rotary switch to the 'Ω' (Resistance) range and press the 'SELECT' button if necessary to choose continuity mode (indicated by a buzzer symbol).
- د ازموینې پروبونه د سرکټ یا برخې په اوږدو کې وصل کړئ.
- که چیرې مقاومت تقریبا 30Ω څخه کم وي، نو بزر به غږ وکړي، چې دوام ښیي.
6.5 د ډایډ ټیسټ
- Connect the test leads.
- Turn the rotary switch to the 'Ω' (Resistance) range and press 'SELECT' to choose diode mode (indicated by a diode symbol).
- سور پروب د انود سره او تور پروب د ډایډ کیتوډ سره وصل کړئ.
- ښودنه به د مخکینۍ حجم وښييtage drop. Reverse the probes; the display should show 'OL' (Open Loop) for a good diode.
6.6 د فریکونسی اندازه کول
- Connect the test leads.
- د څرخي سویچ د 'Hz' (فریکونسي) حد ته واړوئ.
- Connect the test probes to the circuit where frequency is to be measured.
- په ښودنه کې د فریکونسۍ ارزښت ولولئ.
6.7 دحرارت اندازه کول
- Connect the K-type thermocouple to the designated input terminals, observing polarity.
- Turn the rotary switch to the '°C' or '°F' (Temperature) range.
- د ترموکوپل پروب په هغه شی یا نږدې کېږدئ چې تودوخه یې اندازه کیږي.
- په نندارتون کې د تودوخې ارزښت ولولئ.
6.8 د ډیټا هولډ فعالیت
د 'نیول' تڼۍ کېکاږئ ترڅو په ښودنه کې اوسنی لوستل کنګل کړئ. د ژوندۍ اندازه کولو خوشې کولو او بیا پیل کولو لپاره یې بیا فشار ورکړئ.
6.9 د شاته څراغ ښکاره کول
Press the 'LIGHT' button to turn on the display backlight for improved visibility in dimly lit environments. Press it again to turn off the backlight.
7. ساتنه
7.1 پاکول
د میټر کیس د اعلان سره پاک کړئamp ټوکر او نرم صابون. د کثافاتو یا محلولونو څخه کار مه اخلئ. ډاډ ترلاسه کړئ چې میټر د کارولو دمخه وچ دی.
7.2 د بیټرۍ بدلول
When the 'Low Battery' indicator appears on the display, replace the 9V battery as described in Section 5.1. Prompt battery replacement ensures accurate readings.
7.3 ذخیره کول
If the meter is not used for an extended period, remove the battery to prevent leakage and damage. Store the meter in a cool, dry place, away from direct sunlight and extreme temperatures.
8. ستونزه حل کول
- نه ښودنه/کمزور ښودنه: Check battery installation and replace the 9V battery if necessary.
- ناسم لوستل: Ensure the rotary switch is set to the correct function and range. Verify test lead connections. Check for damaged test leads.
- 'OL' په ښودنه کې: Indicates an over-range condition or an open circuit. Select a higher range or check the circuit connection.
- Buzzer Not Sounding in Continuity Mode: The resistance may be above the continuity threshold (30Ω), or the circuit is open.
9. مشخصات
| پیرامیټر | مشخصات |
|---|---|
| ښودل | د 2000 شمیره |
| د ژامې خلاصول | ۱۶.۵ ملي متره (۰.۶۴ انچه) |
| AC Voltage | 750V |
| DC Voltage | 1000V |
| AC اوسنی | 1000A |
| مقاومت | 2MΩ |
| فریکونسی | 20kHz |
| دوام | <30Ω (Buzzer) |
| ډایډ خلاص والیومtage | 3.0V |
| د حرارت درجه (ډول K) | -0°C ته 750°C (32°F ته 1382°F) |
| د خوندیتوب درجه | CAT II 1000V، CAT III 600V |
| د بریښنا سرچینه | 9V بیټرۍ (شامل) |
| د محصول ابعاد | 7.87 x 5.91 x 9.84 انچه |
| د توکي وزن | ۱ کیلوګرامه (۲.۲ پونډه) |

Detailed specifications and features for the Mastech MS2000G and other models.
۲. په بکس کې څه دي؟
The Mastech MS2000G package typically includes:
- Mastech MS2000G Digital Clamp متره
- Test Leads (one pair)
- Wrapping Case
- K-Type Thermocouple
- 9V بیټرۍ
- د حساب ورکولو سند
- د چټک پیل لارښود / د کارونکي لارښود

Contents of the Mastech MS2000G package, including the clamp meter and accessories.
11. تضمین او ملاتړ
For warranty information and technical support, please refer to the documentation included with your product or contact the seller/manufacturer directly. Keep your purchase receipt as proof of purchase.


